

Classic Style Hello Kitty Cake You Can’t Resist: A Purr-fectly Delicious Treat! 🎂🎀😋
1. Introduction
Looking for the ultimate cute and delicious cake to celebrate a special occasion? Look no further! This Classic Style Hello Kitty cake recipe is guaranteed to be a showstopper. Whether it’s a Hello Kitty birthday cake or just a fun weekend baking project, this cute Hello Kitty dessert is surprisingly easy to make and decorate. Baking is a fantastic way to express creativity and share joy, just like learning a new hobby. If you’re looking for more inspiration, check out our other dessert recipes here! Get ready to impress your friends and family with this irresistible treat!
2. What Makes This Hello Kitty Cake Special?
This Hello Kitty cake recipe stands out because it combines a classic, moist vanilla cake with adorable Hello Kitty-themed decoration. It’s perfect for both beginner bakers and experienced cake artists. This recipe uses simple ingredients and straightforward instructions to ensure that anyone can create a memorable Hello Kitty birthday cake. Want to explore more baking options? Check out this detailed guide for another Hello Kitty cake approach. The end result is a cute Hello Kitty dessert that tastes as good as it looks!
3. Ingredients You’ll Need
Before diving into the baking process, it’s crucial to gather all the necessary ingredients. Here’s what you’ll need to make this delightful Hello Kitty cake:
- 2 ½ cups all-purpose flour
- 1 ½ cups granulated sugar
- 3 teaspoons baking powder
- ½ teaspoon salt
- ¾ cup unsalted butter, softened
- 1 ¼ cups milk
- 2 large eggs
- 1 teaspoon vanilla extract
For the frosting:
- 2 cups (4 sticks) unsalted butter, softened
- 6 cups powdered sugar
- ½ cup milk
- 2 teaspoons vanilla extract
- Pink food coloring (optional, for accents)
Consider sourcing high-quality ingredients. The better the ingredients, the more flavorful and delightful your Hello Kitty cake will be. If you’re looking for a cake with a different flavor profile, you might enjoy our Lemon Poppy Seed Cake recipe!
4. Equipment Needed
Having the right equipment can make the baking process smoother and more enjoyable. Make sure you have these items on hand:
- Hello Kitty cake pan
- Mixing bowls
- Electric mixer
- Spatula
- Piping bags and tips
- Measuring cups and spoons
- Oven
Proper tools ensure precision and ease in baking. Don’t underestimate the importance of having everything prepared before you start! For more tips and tricks, you can always explore our homepage for helpful articles.
5. Step-by-Step Instructions
Follow these detailed steps to create your own stunning Hello Kitty cake:
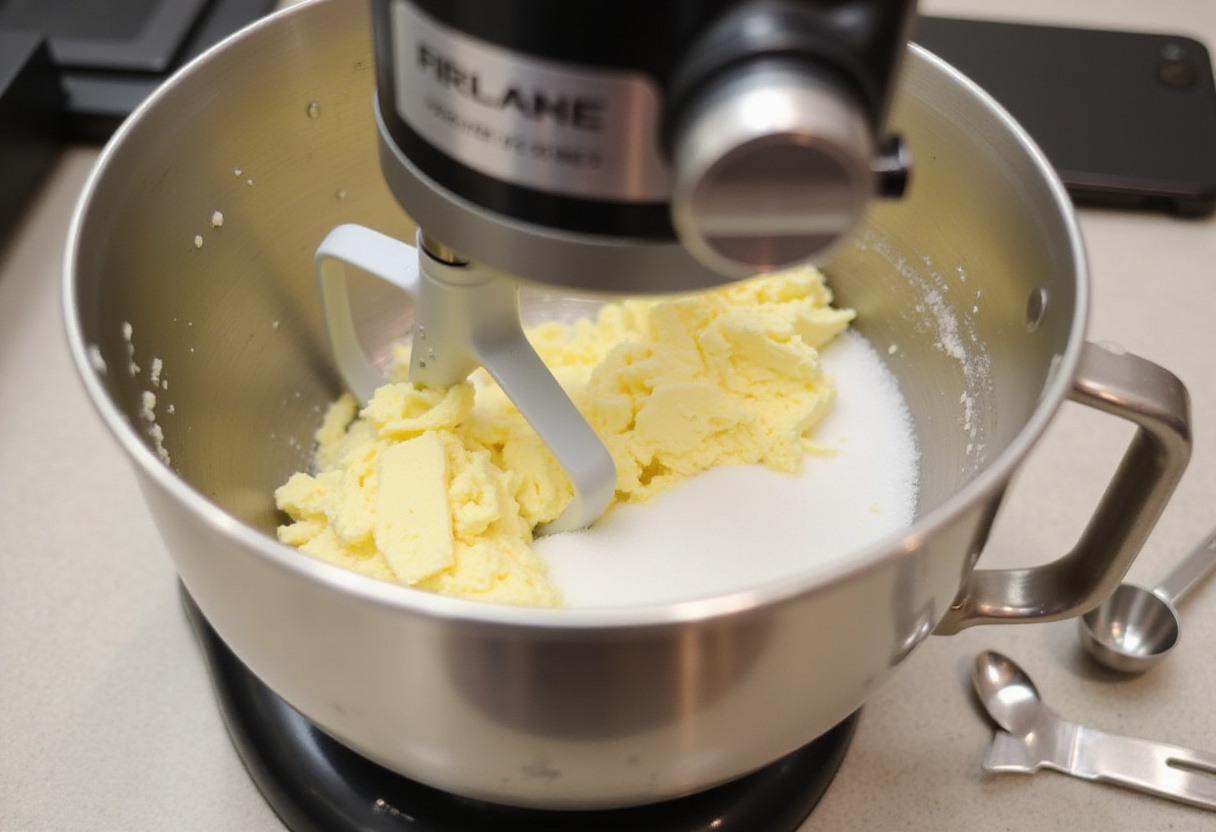
Mixing the Batter
Preheat your oven to 350°F (175°C). Grease and flour your Hello Kitty cake pan. In a large bowl, whisk together flour, sugar, baking powder, and salt. Add softened butter to the dry ingredients. Mix until the mixture resembles coarse crumbs. Gradually add milk, mixing until just combined. Add eggs and vanilla extract; beat until smooth. Make sure you don’t overmix, to keep the cake soft and moist. You need to mix these ingredients for the Hello Kitty cake recipe properly. A well-mixed batter is key to achieving a light and fluffy cake.

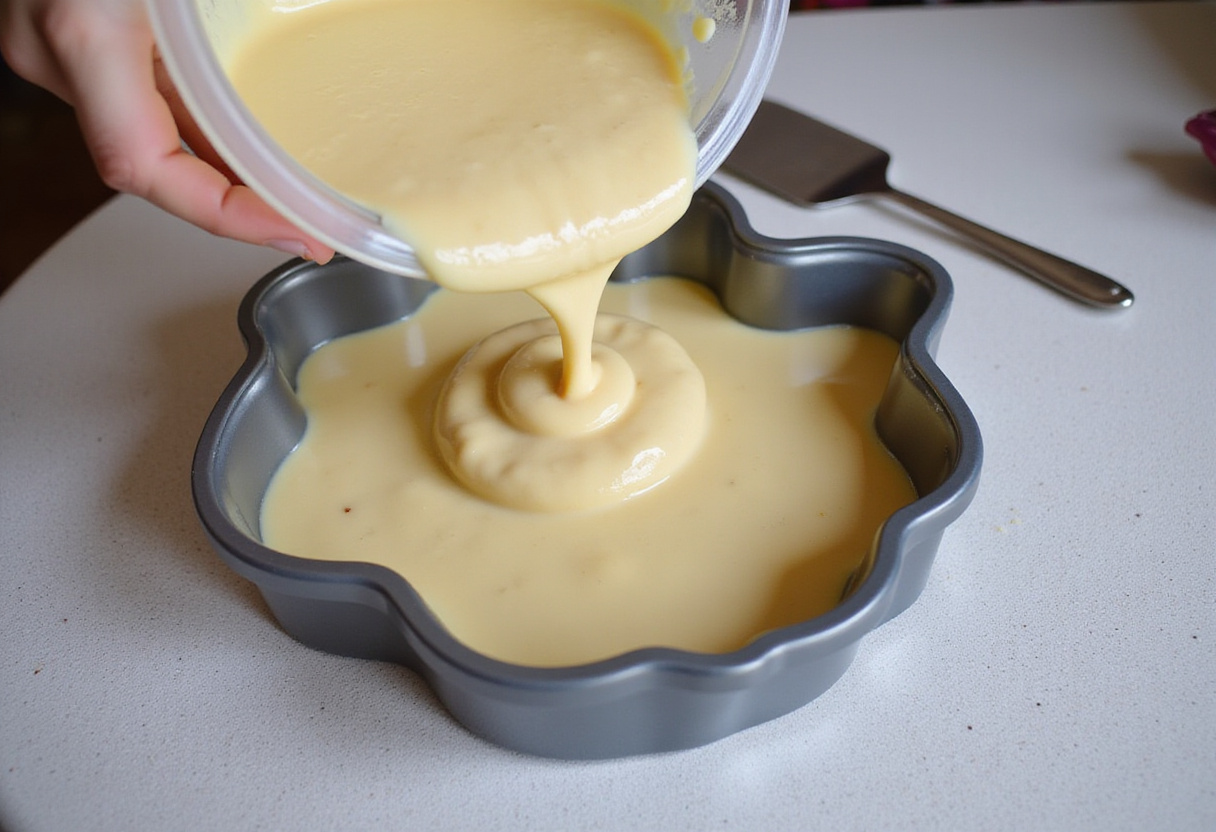
Baking the Cake
Pour the batter into the prepared Hello Kitty cake pan. Bake for 30-35 minutes or until a toothpick inserted into the center comes out clean. Let the cake cool in the pan for 10 minutes before inverting it onto a wire rack to cool completely. Patience is crucial here – allowing the cake to cool properly prevents it from breaking apart. Remember, a perfectly baked cake is the foundation of a great Hello Kitty birthday cake!
Making the Frosting
In a large bowl, beat softened butter until light and fluffy. Gradually add powdered sugar, alternating with milk, until smooth and creamy. Stir in vanilla extract. If desired, divide the frosting and tint a portion with pink food coloring for Hello Kitty’s bow. The frosting should be smooth and easy to spread, enhancing the overall taste and appearance of your cute Hello Kitty dessert.
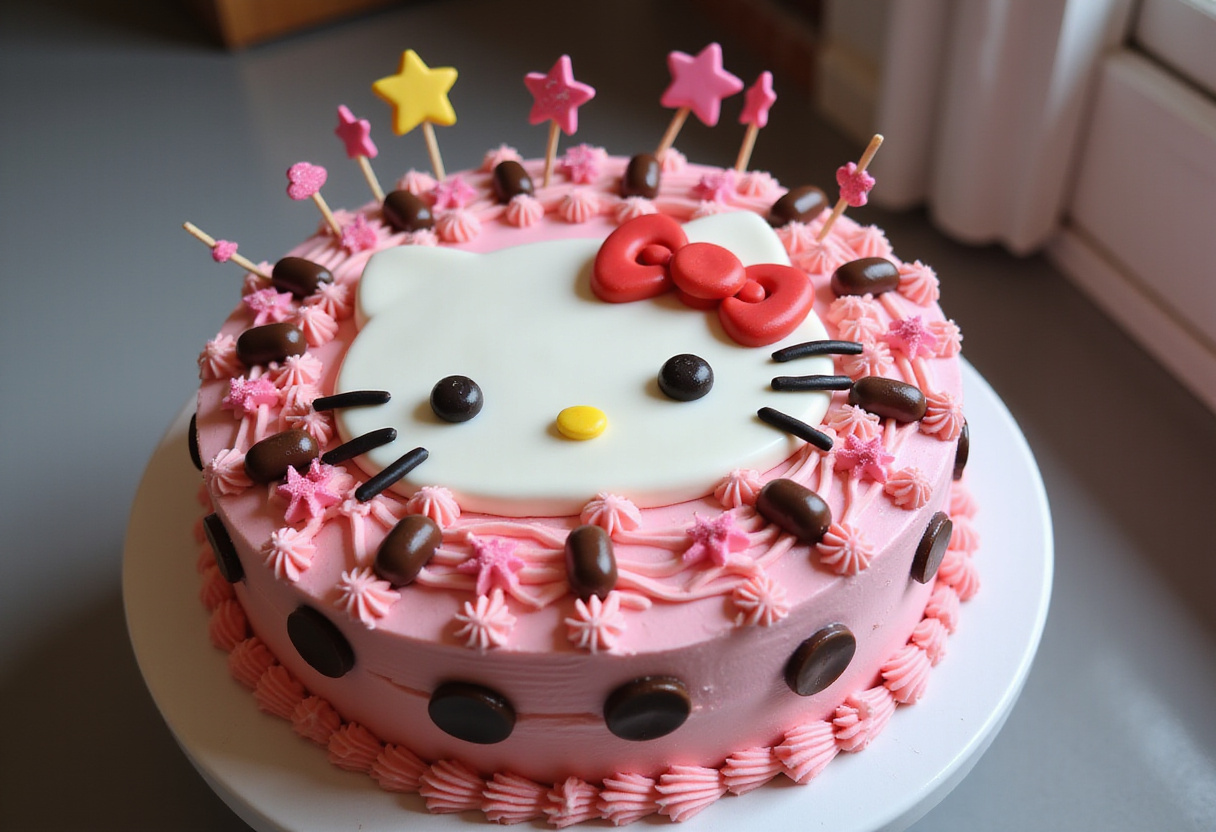
Decorating the Hello Kitty Cake
Once the cake is completely cool, frost the entire cake with white frosting. Use the pink frosting (if using) to pipe Hello Kitty’s signature bow. You can also use candies, sprinkles, or edible markers to add details like her eyes, nose, and whiskers. Get creative and make it your own unique cute Hello Kitty dessert masterpiece! Decoration time is where your personality shines through; don’t be afraid to experiment and have fun.
6. Tips for Perfecting Your Hello Kitty Cake
Here are some expert tips to ensure your Hello Kitty cake turns out perfectly:
- Ensure all ingredients are at room temperature for better mixing.
- Don’t overbake the cake to keep it moist.
- Use a serrated knife to level the cake if needed before frosting.
- Chill the cake slightly after frosting for easier decorating.
- Practice piping techniques on parchment paper before decorating the cake.
These tips can elevate your cake from good to great! Attention to detail makes all the difference. If you’d like to know more about me or the origin of these recipes, feel free to visit my page!
7. Variations and Add-Ins
Want to add a twist to your Hello Kitty cake recipe? Consider these variations:
- Chocolate Cake: Substitute vanilla extract with chocolate extract and add cocoa powder to the batter.
- Strawberry Filling: Add a layer of strawberry jam or fresh strawberries between cake layers.
- Cream Cheese Frosting: Use cream cheese frosting for a tangy flavor.
- Customize the decorations with different colors and edible decorations to match your party theme for the Hello Kitty birthday cake.
Experimenting with flavors and fillings can make your Hello Kitty cake truly unique! Don’t be constrained by the recipe; let your creativity guide you.
8. Serving and Storing Tips
Serve your cute Hello Kitty dessert chilled or at room temperature. Store leftover cake in an airtight container in the refrigerator for up to 3 days. For longer storage, you can freeze the cake (frosted or unfrosted) for up to 2 months. Thaw in the refrigerator before serving. Proper storage ensures your cake remains fresh and delicious for as long as possible.
9. Conclusion
Creating a Classic Style Hello Kitty cake is a fun and rewarding baking project that’s perfect for any celebration. This Hello Kitty cake recipe is simple enough for beginners, yet impressive enough to wow your guests. So, gather your ingredients, follow these steps, and get ready to create a cute Hello Kitty dessert that’s as delightful to look at as it is to eat!
Print
Classic Style Hello Kitty Cake You Can’t Resist
- Total Time: 1 hour 5 minutes
- Yield: 12 servings 1x
- Diet: Vegetarian
Description
Create a delightful Classic Style Hello Kitty Cake with this easy-to-follow recipe! Perfect for birthdays or any special occasion, this cute and irresistible cake is sure to be a hit.
Ingredients
- 2 ½ cups all-purpose flour
- 1 ½ cups granulated sugar
- 3 teaspoons baking powder
- ½ teaspoon salt
- ¾ cup unsalted butter, softened
- 1 ¼ cups milk
- 2 large eggs
- 1 teaspoon vanilla extract
For the frosting:
- 2 cups (4 sticks) unsalted butter, softened
- 6 cups powdered sugar
- ½ cup milk
- 2 teaspoons vanilla extract
- Pink food coloring (optional, for accents)
Instructions
- Preheat oven to 350°F (175°C). Grease and flour a Hello Kitty cake pan.
- In a large bowl, whisk together flour, sugar, baking powder, and salt.
- Add softened butter and mix until the mixture resembles coarse crumbs.
- Gradually add milk, mixing until just combined.
- Add eggs and vanilla extract; beat until smooth.
- Pour batter into the prepared Hello Kitty cake pan.
- Bake for 30-35 minutes, or until a toothpick inserted into the center comes out clean.
- Let the cake cool in the pan for 10 minutes, then invert onto a wire rack to cool completely.
- For the frosting, beat softened butter until light and fluffy.
- Gradually add powdered sugar, alternating with milk, until smooth and creamy.
- Stir in vanilla extract. Divide and tint a portion with pink food coloring, if desired.
- Once the cake is completely cool, frost the entire cake with white frosting.
- Use the pink frosting to pipe Hello Kitty’s signature bow.
- Add details like eyes, nose, and whiskers using candies, sprinkles, or edible markers.
Notes
- Ensure all ingredients are at room temperature for better mixing.
- Don’t overbake the cake to keep it moist.
- Use a serrated knife to level the cake if needed before frosting.
- Chill the cake slightly after frosting for easier decorating.
- Practice piping techniques on parchment paper before decorating the cake.
- Prep Time: 30 minutes
- Cook Time: 35 minutes
- Category: Dessert
- Method: Baking
- Cuisine: American
Nutrition
- Serving Size: 1 slice
- Calories: 420 Kcal
- Sugar: 45g
- Sodium: 250mg
- Fat: 20g
- Saturated Fat: 12g
- Unsaturated Fat: 7g
- Trans Fat: 0.5g
- Carbohydrates: 60g
- Fiber: 1g
- Protein: 4g
- Cholesterol: 80mg
Keywords: Hello Kitty Cake, Hello Kitty Birthday Cake, Cute Hello Kitty Dessert, Vanilla Cake, Cake Recipe, Kids Birthday Cake, Character Cake


No comment