

The Secret to Delicious Homemade Batard Bread: A Crusty, Flavorful Masterpiece! 🥖✨🍞
1. Introduction
Imagine the aroma of freshly baked bread wafting through your kitchen, a crusty loaf with a soft, chewy interior. That dream can become a reality with this simple yet rewarding homemade batard bread recipe. This isn’t just any bread; it’s an artisan bread recipe that brings the bakery experience right to your home. Whether you’re a seasoned baker or a novice, this guide will walk you through each step to create a perfect batard. Forget store-bought loaves; this homemade baguette recipe (which shares similarities with batard) will elevate your meals and impress your friends and family. It’s a surprisingly simple recipe, and the results speak for themselves. Let’s unlock the secret to a truly delicious homemade batard. Get ready to experience the joy of baking and the satisfaction of creating something truly special.
2. Understanding Batard Bread
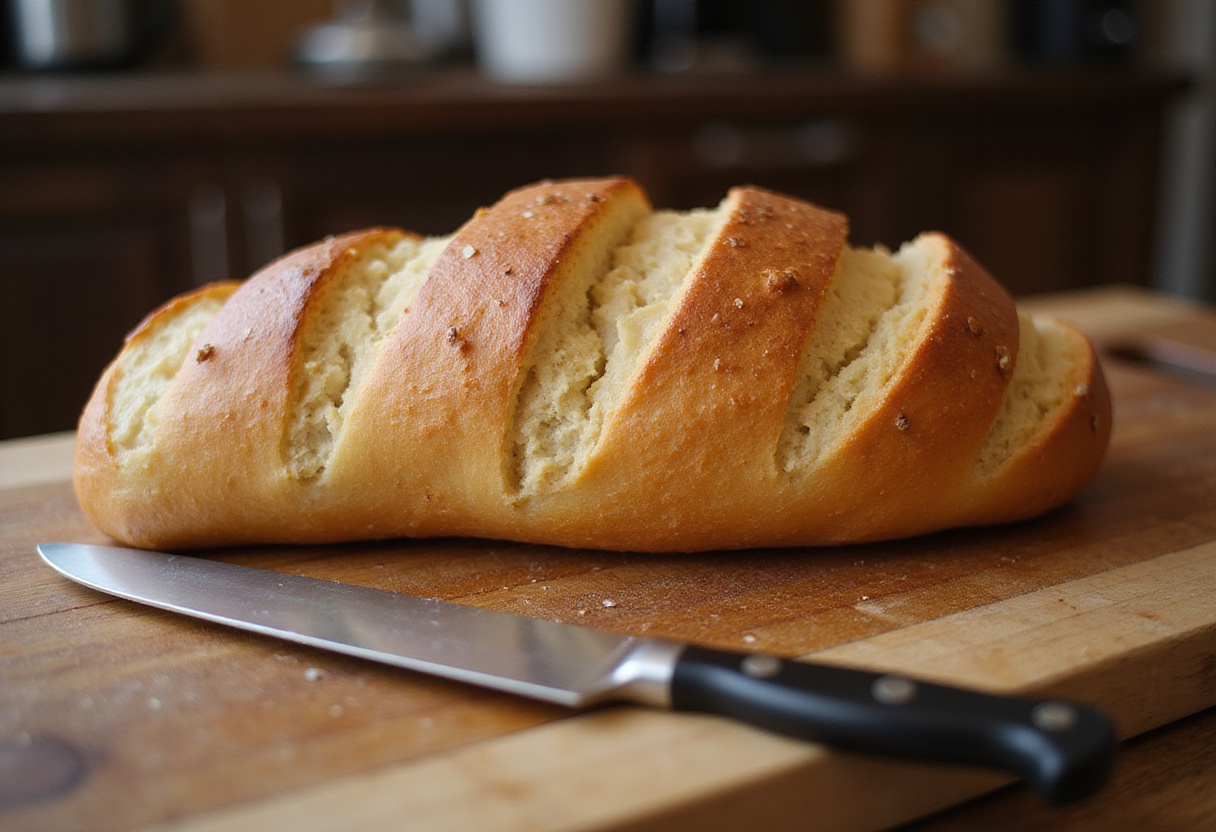
Before we dive into the recipe, let’s understand what makes batard bread special. A batard, often described as a “torpedo” shape, is a type of French bread that falls between a baguette and a boule (round loaf) in size and shape. Its versatile form makes it perfect for sandwiches, dipping, or simply enjoying with a smear of butter. You’ll find that this shape offers a great crust-to-crumb ratio, making every bite satisfying. Mastering a homemade batard bread recipe opens the door to a world of baking possibilities. This recipe focuses on simplicity and flavor, ensuring that even beginners can achieve bakery-quality results. It’s all about understanding the process and paying attention to the details. For a deeper dive into the world of Batard bread, you might find this article helpful: Emily Laurae’s Batard Bread Guide.
3. Gathering Your Ingredients
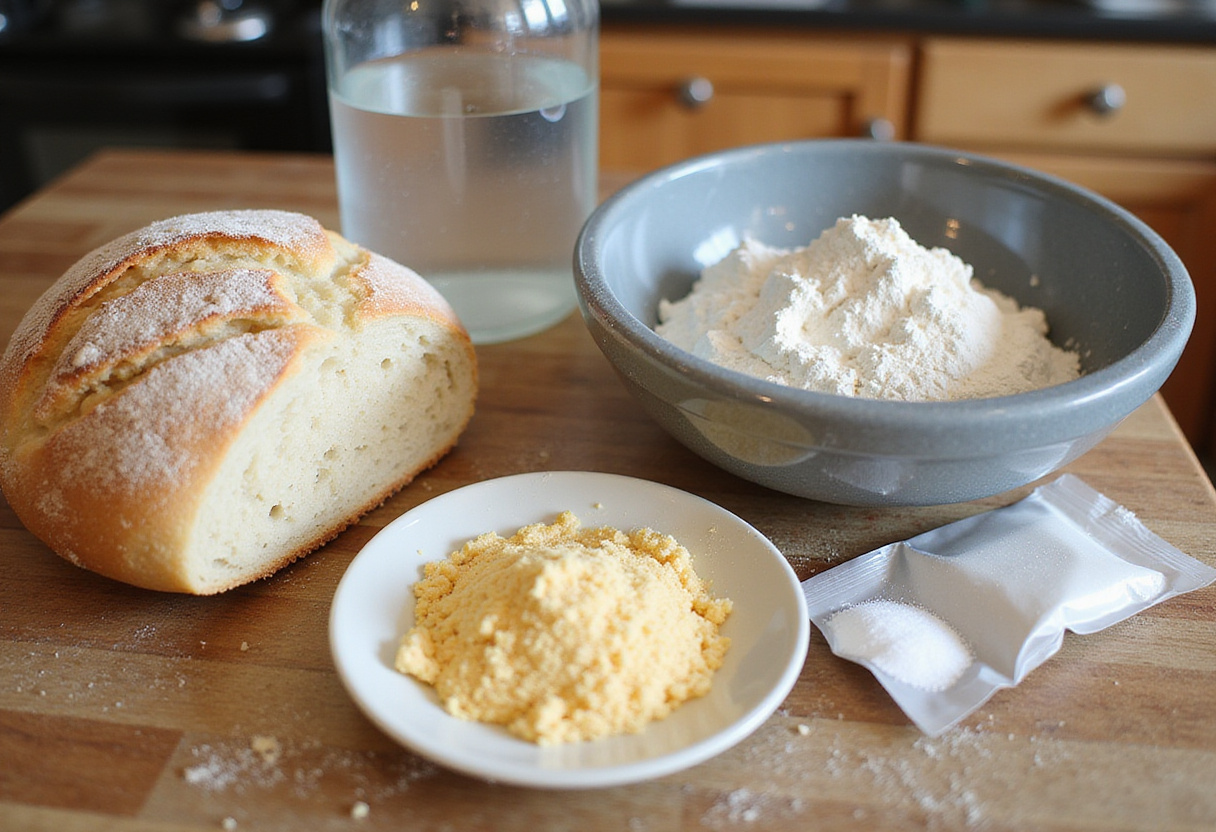
The key to exceptional homemade batard bread lies in using high-quality ingredients. Here’s what you’ll need: Using the right ingredients can truly elevate your baking. Don’t skimp on quality – it makes a difference!
- 3 cups (375g) bread flour
- 1 ½ cups (360ml) warm water (105-115°F)
- 1 ½ teaspoons (6g) salt
- ½ teaspoon (2g) instant dry yeast
Bread flour is crucial for achieving a chewy texture and a good rise in your artisan bread recipe. This type of flour has a higher protein content, which develops more gluten. Ensure your yeast is fresh to guarantee proper fermentation. Old yeast can lead to a flat, dense loaf. Now, let’s move on to the step-by-step process of creating your masterpiece. Preparing your ingredients beforehand, also known as “mise en place”, will make the baking process much smoother and enjoyable.
4. Step-by-Step Instructions
Let’s get started! Follow these detailed instructions to bake your perfect batard.
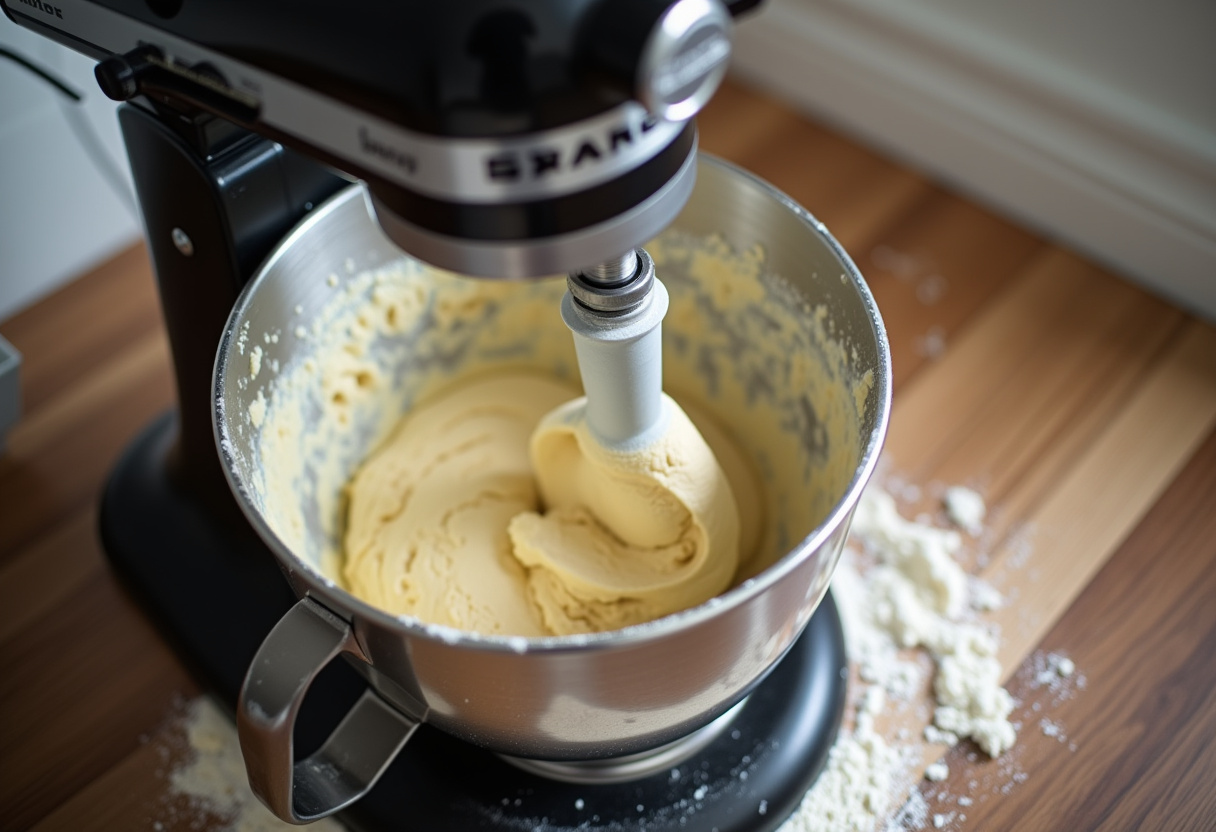
1. Mixing the Dough
In a large mixing bowl (or the bowl of a stand mixer), combine the warm water and yeast. Let it sit for 5 minutes until the yeast begins to foam. This step is crucial to ensure that the yeast is alive and active. Add the bread flour and salt to the yeast mixture. If using a stand mixer, use the dough hook and mix on low speed for 8-10 minutes. If mixing by hand, knead the dough on a lightly floured surface for 10-12 minutes until it becomes smooth and elastic. This step is vital for developing the gluten, which gives the bread its structure. Don’t rush this process; proper kneading is key. Good batard bread baking starts with a well-mixed dough. The dough should be slightly sticky but manageable. If it’s too sticky, add a little flour, one tablespoon at a time.
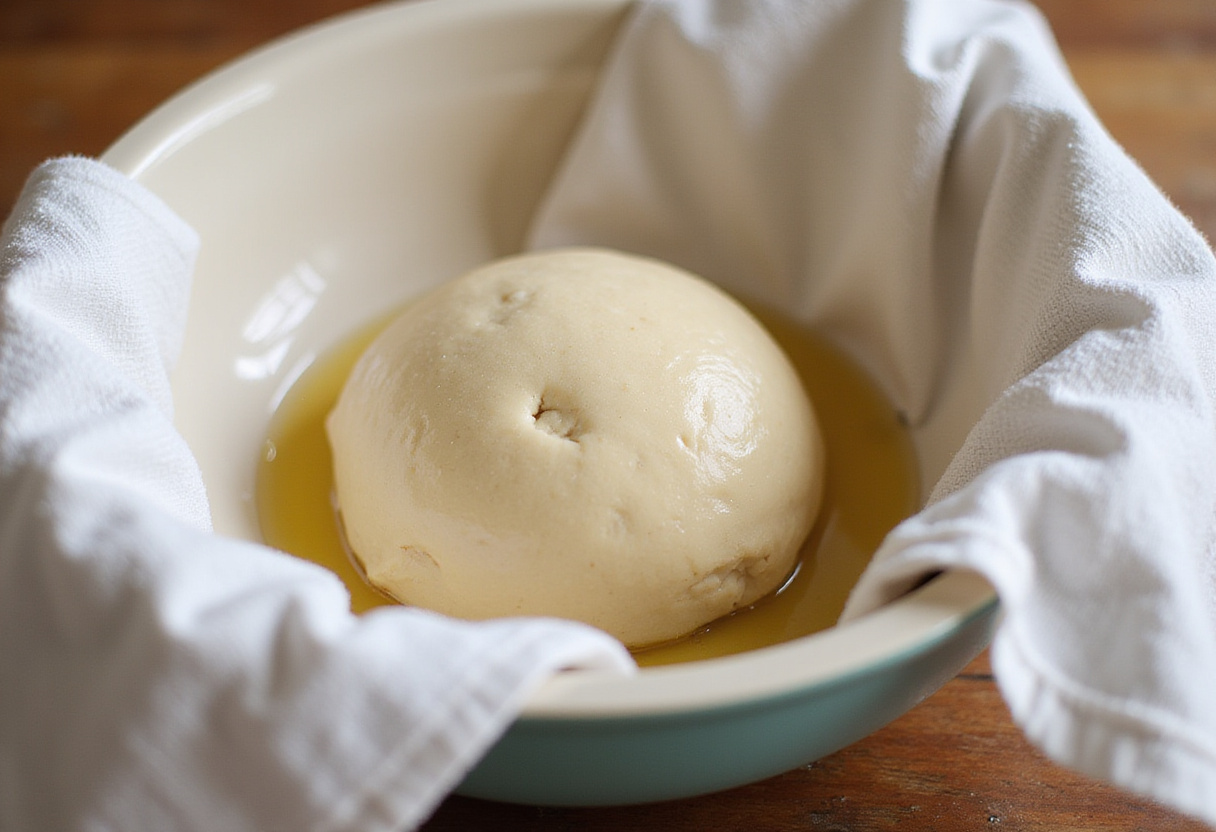
2. First Rise (Bulk Fermentation)
Place the dough in a lightly oiled bowl, turning to coat. Cover the bowl with plastic wrap or a damp towel. Let the dough rise in a warm place for 1.5-2 hours, or until it has doubled in size. This process, called bulk fermentation, allows the yeast to develop flavor and structure in the dough. Finding a warm spot can be crucial, especially in cooler climates. Some people use their oven with the light on, or a proofing box. A slow, steady rise is key to a flavorful homemade batard bread. This develops the complex flavors that make artisan bread so delicious. Watch the dough carefully, as rising times can vary depending on the temperature of your kitchen. Don’t be afraid to adjust the rising time based on how the dough looks and feels.
3. Shaping the Batard
Gently deflate the risen dough on a lightly floured surface. This step removes excess gas and prepares the dough for shaping. Shape the dough into a batard by gently stretching and folding it. To do this, flatten the dough into a rectangle. Fold the top third down to the center, then fold the bottom third up to the center. Gently roll the dough to create a torpedo shape, tapering the ends. Watch videos online for visual guides on shaping a batard for best results. This shaping process gives the batard its distinctive form. The tighter the shaping, the better the structure of the final loaf. For those familiar with making a homemade baguette recipe, the shaping process will feel similar. But remember, the batard is shorter and wider.
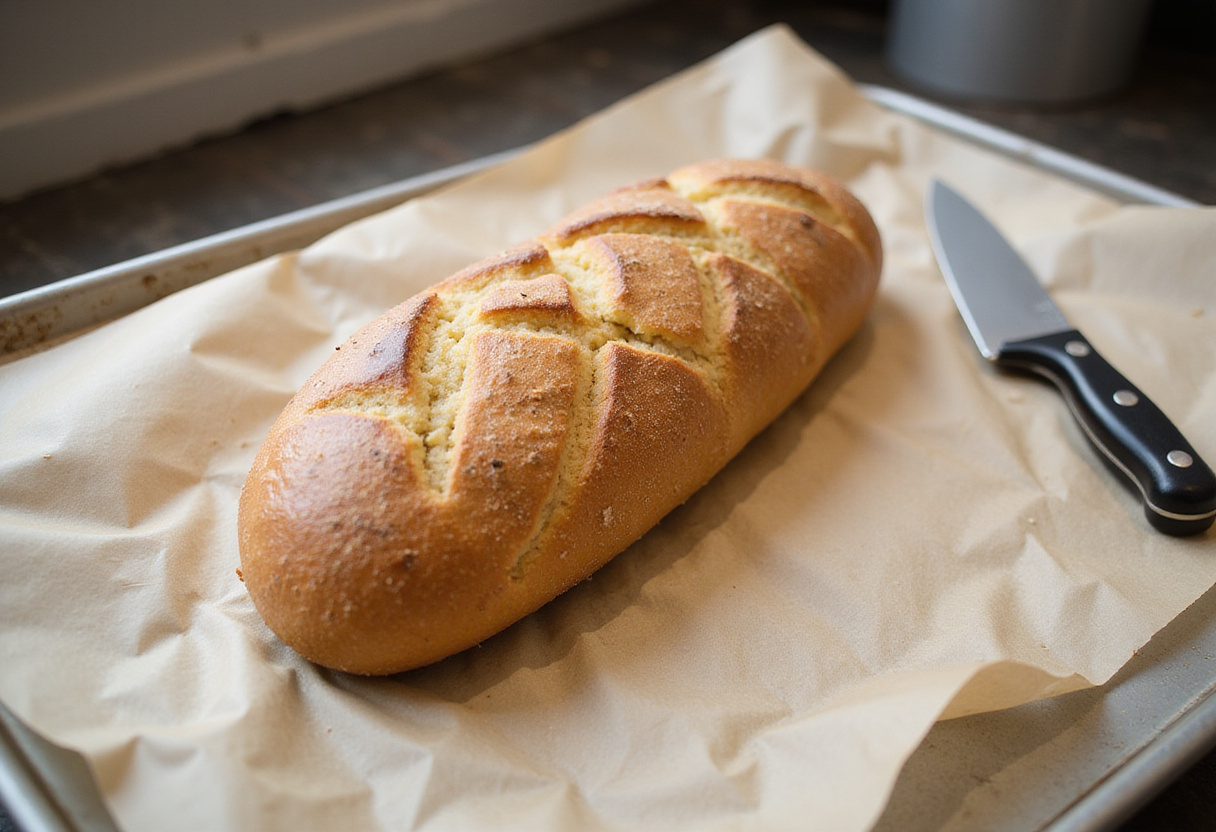
4. Second Rise (Proofing) and Baking
Place the shaped batard on a piece of parchment paper. This makes it easier to transfer the dough to the hot oven. Cover it loosely with plastic wrap and let it rise for another 30-45 minutes. Don’t skip this crucial step; it allows the dough to relax and rise further. While the dough is proofing, preheat your oven to 450°F (232°C) with a baking stone or Dutch oven inside. The high heat is essential for creating a crispy crust. Just before baking, score the top of the batard with a sharp knife or lame. This allows the bread to expand during baking and creates a beautiful crust. Experiment with different scoring patterns for a unique look. Carefully transfer the batard (with the parchment paper) to the preheated baking stone or Dutch oven. Be very careful to avoid burning yourself. If using a baking stone, add a cup of hot water to a preheated pan on the bottom rack of the oven to create steam. The steam helps to create a beautiful, shiny crust. Bake for 25-30 minutes, or until the crust is golden brown and the internal temperature reaches 200-210°F (93-99°C). Use a thermometer to ensure that the bread is fully baked. Proper batard bread baking requires a hot oven and a bit of steam to achieve that perfect crust.
5. Tips for a Perfect Batard
Here are some extra tips to help you achieve the perfect batard every time:
- Use a Kitchen Scale: For consistent results, measure your ingredients by weight using a kitchen scale. Volume measurements can vary, leading to inconsistent results.
- Control Dough Temperature: The ideal dough temperature after mixing should be around 75-78°F (24-26°C). This promotes optimal yeast activity. Use a thermometer to check the temperature.
- Scoring Techniques: Experiment with different scoring patterns to enhance the appearance of your batard. Practice makes perfect!
- Proper Cooling: Allow the baked batard to cool completely on a wire rack before slicing. This prevents a gummy interior. The cooling process allows the internal structure to set.
6. Serving Suggestions
Your homemade batard bread is incredibly versatile. Serve it with soups, stews, or salads. It’s a perfect accompaniment to any meal. Use it to make gourmet sandwiches or bruschetta. The slightly tangy flavor pairs well with a variety of toppings. Enjoy it with a simple spread of butter or olive oil. Sometimes, simple is best! The possibilities are endless! From breakfast to dinner, your homemade batard is sure to be a hit. The satisfaction of serving a loaf of bread you made from scratch is unmatched. Share it with friends and family and enjoy the compliments!
7. Troubleshooting Common Issues
Even experienced bakers run into problems. Here’s how to troubleshoot some common issues:
- Dense Bread: Ensure your yeast is active and your dough rises sufficiently during both the bulk fermentation and proofing stages. Check the expiration date on your yeast and adjust rising times as needed.
- Flat Bread: Avoid over-proofing the dough, which can cause it to collapse during baking. Gently poke the dough; if it deflates easily, it’s over-proofed.
- Pale Crust: Increase the oven temperature slightly or bake for a longer time, keeping a close eye to prevent burning. Ovens can vary, so adjust the temperature and baking time accordingly.
8. Variations and Additions
Once you’ve mastered the basic homemade batard bread recipe, feel free to experiment with variations. Get creative and put your own spin on it! Add herbs, cheese, or olives to the dough for added flavor. Sun-dried tomatoes and rosemary make a delicious addition. Try using different types of flour, such as whole wheat or rye, for a unique twist. Each type of flour will add a different flavor profile and texture. Baking is an art, so let your creativity shine! Don’t be afraid to experiment and discover your favorite flavor combinations.
9. Conclusion
Congratulations! You’ve unlocked the secret to delicious homemade batard bread. With a few simple ingredients and a little patience, you can create a loaf that rivals anything you’d find in a bakery. Now that you know the basics, you can experiment and create your own signature batard. Enjoy the process of batard bread baking, and savor the wonderful aroma and flavor of your creation. There’s nothing quite like the taste of freshly baked, homemade bread. Happy baking!
Print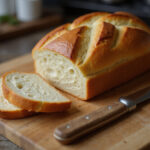
The Secret to Delicious Homemade Batard Bread
- Total Time: 2 hours 50 minutes
- Yield: 1 loaf 1x
- Diet: Vegetarian
Description
Master the art of homemade artisan bread with this easy batard recipe. Learn how to bake a crusty, flavorful loaf perfect for sandwiches, soups, and more. Elevate your baking game today!
Ingredients
- 3 cups (375g) bread flour
- 1 ½ cups (360ml) warm water (105-115°F)
- 1 ½ teaspoons (6g) salt
- ½ teaspoon (2g) instant dry yeast
Instructions
- In a large mixing bowl, combine warm water and yeast. Let sit for 5 minutes until foamy.
- Add bread flour and salt. Mix on low speed (or knead by hand) for 8-12 minutes until smooth and elastic.
- Place dough in a lightly oiled bowl, turning to coat. Cover and let rise in a warm place for 1.5-2 hours, or until doubled.
- Gently deflate the dough on a lightly floured surface and shape into a batard.
- Place the shaped batard on parchment paper. Cover loosely and let rise for 30-45 minutes.
- Preheat oven to 450°F (232°C) with a baking stone or Dutch oven inside.
- Score the top of the batard. Transfer to the preheated baking stone or Dutch oven.
- If using a baking stone, add a cup of hot water to a preheated pan on the bottom rack of the oven to create steam.
- Bake for 25-30 minutes, or until golden brown and internal temperature reaches 200-210°F (93-99°C).
- Cool completely on a wire rack before slicing.
Notes
- Use a kitchen scale for accurate measurements.
- Ideal dough temperature after mixing should be around 75-78°F (24-26°C).
- Experiment with different scoring patterns.
- Cool the batard completely before slicing to prevent a gummy interior.
- Prep Time: 20 minutes
- Cook Time: 30 minutes
- Category: Bread
- Method: Baking
- Cuisine: French
Nutrition
- Serving Size: 1 slice (1/12 of loaf)
- Calories: 210 Kcal
- Sugar: 1g
- Sodium: 250mg
- Fat: 1g
- Saturated Fat: 0g
- Unsaturated Fat: 0g
- Trans Fat: 0g
- Carbohydrates: 45g
- Fiber: 2g
- Protein: 7g
- Cholesterol: 0mg
Keywords: batard bread, homemade bread, artisan bread, bread recipe, French bread, baking, sourdough bread, crusty bread, easy bread recipe


No comment