

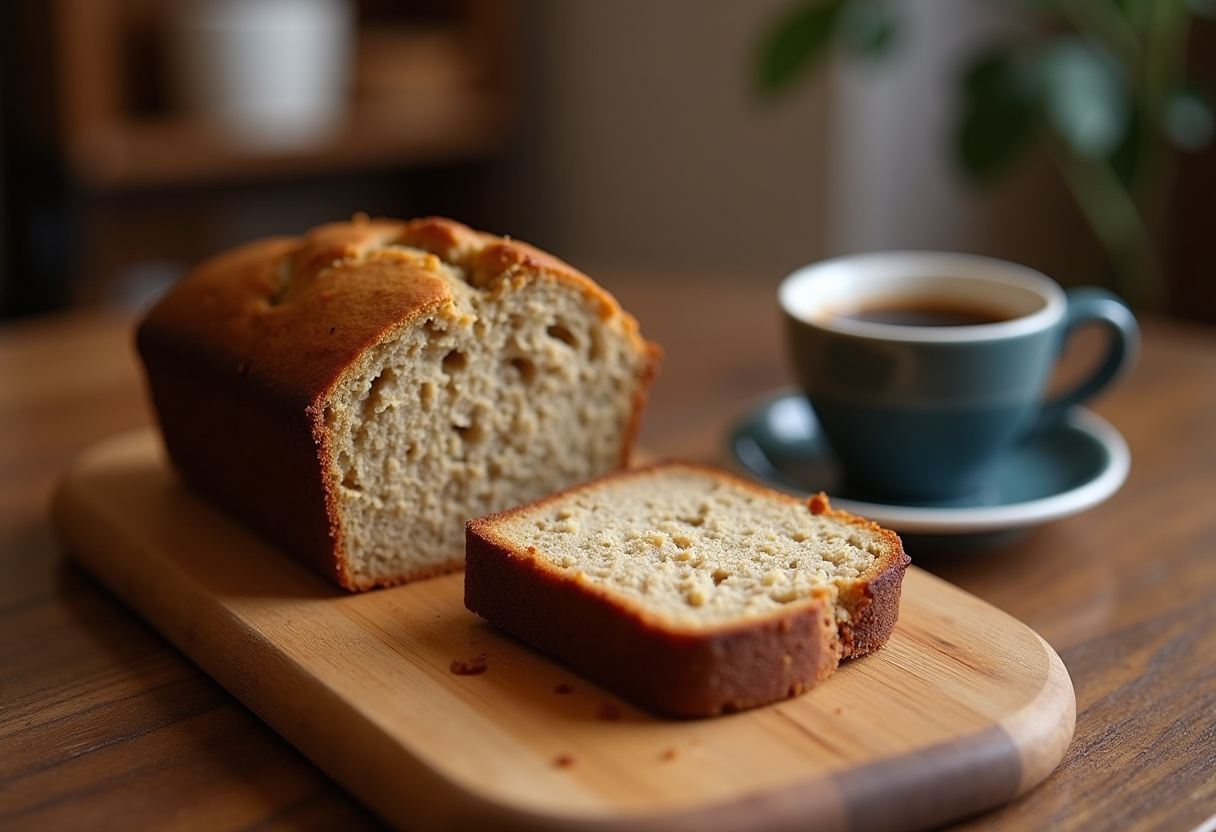
High-Altitude Banana Bread Recipe: Perfectly Moist and Fluffy 🍞🍌⛰️
1. Introduction
Baking at high altitudes presents unique challenges, but with the right adjustments, you can create a perfect loaf of banana bread every time. This high altitude banana bread recipe is specifically designed to combat the issues of dryness and improper rising that often occur when baking at higher elevations. If you’re looking for more breakfast ideas check out these recipes here. Whether you’re in Denver, Colorado, or any other mountainous region, this elevated banana bread recipe will guide you through the modifications needed to achieve a moist, delicious, and perfectly risen loaf. Say goodbye to sunken centers and dry textures, and hello to the best banana bread recipe for high elevations you’ve ever tasted. Let’s dive in and discover the secrets to successful high altitude baking banana bread! If you enjoy baking you might also want to check out my about me page!
2. Understanding High Altitude Baking
At higher altitudes, the lower air pressure affects baking in several ways. Liquids evaporate more quickly, which can lead to drier baked goods. Additionally, leavening agents like baking powder and baking soda react more rapidly, causing the dough to rise quickly and then collapse. To counteract these effects, it’s essential to make a few key adjustments to your recipes. This high altitude banana bread recipe addresses these issues by reducing the amount of leavening agent and increasing the liquid content to maintain the perfect balance and ensure a moist, well-risen loaf. This is crucial for achieving that perfect texture in your baked goods. Interested in other dessert recipes? Browse through desserts!
3. Key Adjustments for High Altitude Banana Bread
When adapting a standard recipe for high altitude baking banana bread, several adjustments can make a significant difference. These modifications are not just about salvaging a recipe; they’re about optimizing it for the unique atmospheric conditions. For a reliable classic banana bread recipe, you might also find inspiration here.
- Reduce Baking Powder: Decrease the amount of baking powder by 1/4 teaspoon per teaspoon called for in the original recipe. This prevents the bread from rising too quickly and then collapsing.
- Increase Liquid: Add 1-2 tablespoons of extra liquid, such as water or milk, to compensate for faster evaporation. This helps maintain the moisture content in the bread.
- Increase Oven Temperature: Increase the oven temperature by 25°F (15°C) to help the bread set faster. This prevents the bread from drying out before it’s fully cooked.
- Reduce Sugar: Decrease sugar by 1 tablespoon to prevent the bread from collapsing. Excess sugar can weaken the structure of the bread at high altitudes.
These adjustments are crucial to ensure your elevated banana bread recipe turns out perfectly every time. Remember to document your adjustments for future baking sessions!
4. Ingredients for High Altitude Banana Bread
Here’s what you’ll need to bake this delicious high altitude banana bread recipe. Gathering all your ingredients beforehand can make the baking process smoother and more enjoyable:
- 3 ripe bananas, mashed: The riper the better! Overripe bananas provide more moisture and a sweeter flavor.
- 1/3 cup unsalted butter, melted: Melted butter adds richness and moisture to the bread.
- 3/4 cup granulated sugar (minus 1 tablespoon): Reducing the sugar slightly helps prevent the bread from collapsing at high altitudes.
- 1 large egg: Eggs provide structure and richness.
- 1 teaspoon vanilla extract: Vanilla extract enhances the flavor of the banana bread.
- 1 1/2 cups all-purpose flour: Flour provides the structure for the bread.
- 1/2 teaspoon baking powder (reduced from the standard amount): Reducing the baking powder prevents the bread from rising too quickly and collapsing.
- 1/2 teaspoon baking soda: Baking soda helps the bread to rise.
- 1/4 teaspoon salt: Salt enhances the flavors of the other ingredients.
- 2 tablespoons milk (added for extra moisture): Adding extra milk compensates for the faster evaporation at high altitudes.
5. Step-by-Step Instructions
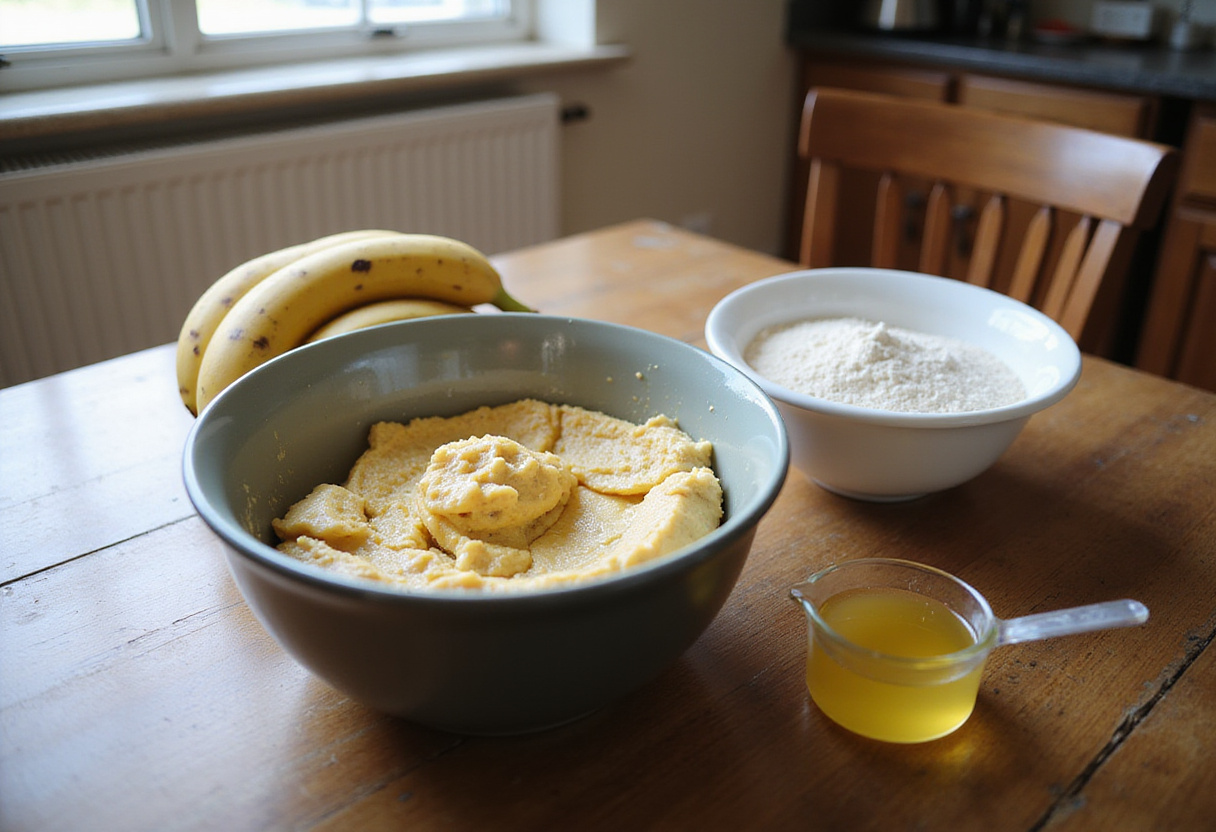
Step 1: Prepare the Wet Ingredients
In a large bowl, mash the ripe bananas until smooth. Add the melted butter, sugar (remember to reduce by 1 tablespoon), egg, and vanilla extract. Mix well until all ingredients are thoroughly combined. Ensuring the wet ingredients are well-mixed is the first key to an excellent high altitude banana bread recipe. A good whisk or electric mixer can help achieve the right consistency.
Step 2: Combine Dry Ingredients
In a separate bowl, whisk together the flour, baking powder (reduced amount), baking soda, and salt. This ensures that the leavening agents are evenly distributed throughout the dry ingredients, which is vital for an elevated banana bread recipe. Even distribution prevents pockets of concentrated leavening, leading to uneven rising.

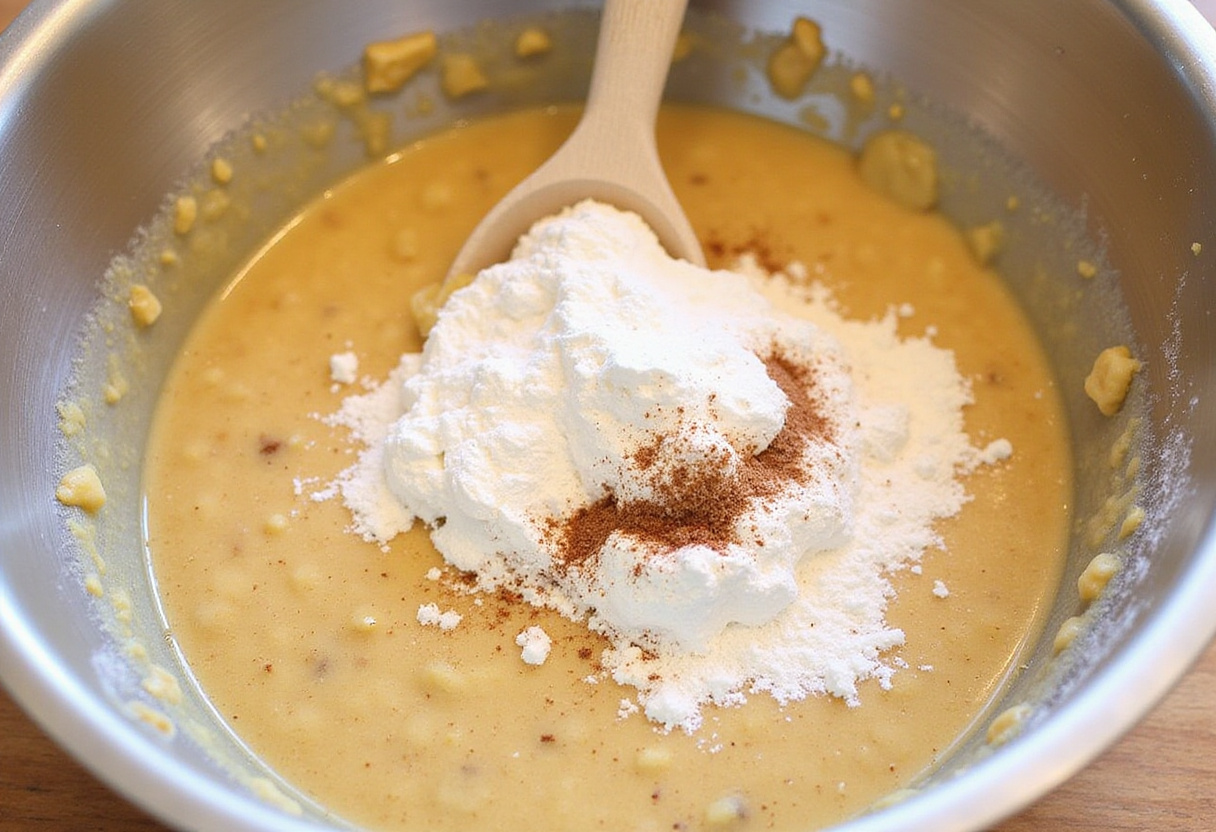
Step 3: Mix Wet and Dry Ingredients
Gradually add the dry ingredients to the wet ingredients, mixing until just combined. Be careful not to overmix, as this can lead to a tough bread. Stir in the milk to add extra moisture, crucial for high altitude baking banana bread. The goal is to mix until the dry ingredients are just incorporated, with no streaks of flour remaining. Thinking of baking something different? You might enjoy this lemon poppy seed cake!
Step 4: Bake the Banana Bread
Pour the batter into a greased and floured loaf pan. Bake in a preheated oven at 375°F (190°C) for 50-60 minutes, or until a toothpick inserted into the center comes out clean. The increased oven temperature helps the bread set faster, which is ideal for an high altitude banana bread recipe. Keep an eye on the bread to prevent it from browning too quickly; if necessary, tent it with foil during the last 15-20 minutes of baking.

6. Tips for Perfect High Altitude Banana Bread
- Use Ripe Bananas: The riper the bananas, the more flavorful and moist your bread will be. Look for bananas with plenty of brown spots.
- Don’t Overmix: Overmixing develops gluten, resulting in a tough bread. Mix until just combined.
- Cool Completely: Allow the bread to cool completely in the pan before slicing to prevent it from crumbling. Patience is key here!
- Adjust as Needed: Every oven and altitude is different, so adjust the recipe slightly based on your results. Keep notes on what works best for you.
7. Variations and Add-Ins
Make this high altitude banana bread recipe your own with these delicious variations. Experimenting with add-ins can make each loaf unique and tailored to your taste:
- Chocolate Chips: Add 1/2 cup of chocolate chips to the batter for a chocolatey twist. Semi-sweet or dark chocolate chips work particularly well.
- Nuts: Stir in 1/2 cup of chopped walnuts or pecans for added texture and flavor. Toasting the nuts beforehand can enhance their flavor.
- Spices: Add 1/2 teaspoon of cinnamon or nutmeg for a warm, spicy flavor. A blend of both can also be delicious.
- Cream Cheese Swirl: Swirl cream cheese into the batter for a tangy and creamy addition. Soften the cream cheese first for easier swirling.
8. Storing Your Banana Bread
To keep your banana bread recipe for high elevations fresh and moist, store it in an airtight container at room temperature for up to 3 days or in the refrigerator for up to a week. You can also freeze slices individually for a quick and easy treat whenever you like. Wrapping the bread tightly in plastic wrap before placing it in an airtight container can help prevent it from drying out.
9. Conclusion
Baking a perfect loaf of banana bread at high altitude doesn’t have to be a challenge. By making a few simple adjustments to your recipe, you can achieve a moist, delicious, and perfectly risen loaf every time. This high altitude banana bread recipe provides the guidance you need to conquer the challenges of high altitude baking banana bread and enjoy a slice of homemade goodness, no matter where you are. And don’t forget to visit the homepage for even more recipe inspiration. Happy baking!
Print
banana bread recipe high altitude
- Total Time: 1 hour 10 minutes
- Yield: 1 loaf 1x
- Diet: Vegetarian
Description
Bake the perfect moist and fluffy banana bread even at high altitudes! This recipe adjusts for elevation, ensuring a delicious loaf every time. Say goodbye to dry, sunken bread and hello to perfection!
Ingredients
- 3 ripe bananas, mashed
- 1/3 cup unsalted butter, melted
- 3/4 cup granulated sugar (minus 1 tablespoon)
- 1 large egg
- 1 teaspoon vanilla extract
- 1 1/2 cups all-purpose flour
- 1/2 teaspoon baking powder (reduced from standard amount)
- 1/2 teaspoon baking soda
- 1/4 teaspoon salt
- 2 tablespoons milk
Instructions
- Preheat oven to 375°F (190°C). Grease and flour a loaf pan.
- In a large bowl, mash bananas. Add melted butter, sugar (minus 1 tablespoon), egg, and vanilla. Mix well.
- In a separate bowl, whisk together flour, baking powder (reduced amount), baking soda, and salt.
- Gradually add dry ingredients to wet ingredients, mixing until just combined. Do not overmix.
- Stir in milk.
- Pour batter into the prepared loaf pan.
- Bake for 50-60 minutes, or until a toothpick inserted into the center comes out clean.
- Cool completely in the pan before slicing.
Notes
- Use very ripe bananas for best flavor and moisture.
- Do not overmix the batter to avoid a tough bread.
- Adjust baking time as needed based on your oven.
- Store in an airtight container for up to 3 days at room temperature or up to a week in the refrigerator.
- Prep Time: 15 minutes
- Cook Time: 55 minutes
- Category: Bread
- Method: Baking
- Cuisine: American
Nutrition
- Serving Size: 1 slice
- Calories: 220 Kcal
- Sugar: 18g
- Sodium: 150mg
- Fat: 8g
- Saturated Fat: 5g
- Unsaturated Fat: 2g
- Trans Fat: 0g
- Carbohydrates: 35g
- Fiber: 1.5g
- Protein: 3g
- Cholesterol: 30mg
Keywords: high altitude banana bread, banana bread recipe, high elevation baking, moist banana bread, easy banana bread recipe, baking at high altitude


No comment