

Reka Bread Recipe: A Simple and Delicious Homemade Delight 🍞🏠❤️
1. Introduction
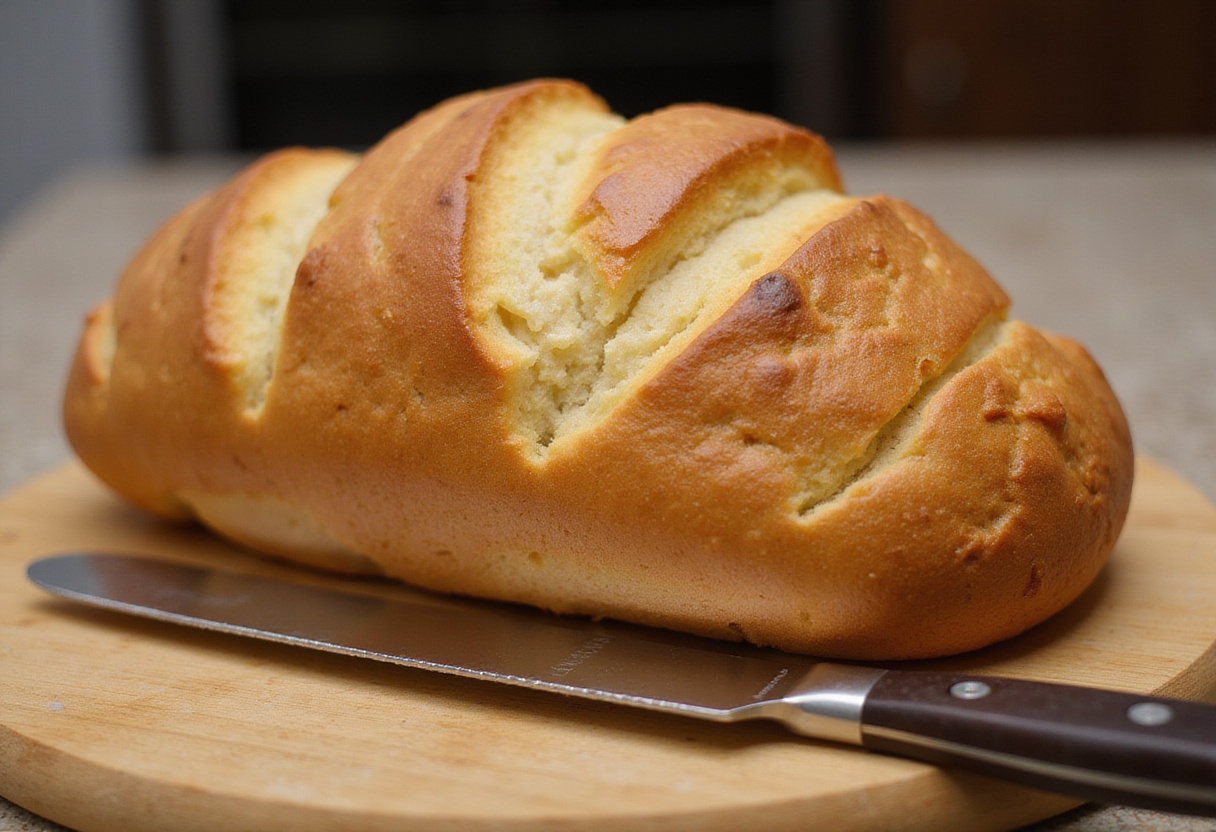
There’s nothing quite like the smell of freshly baked bread wafting through your home, is there? It’s a comforting and inviting aroma that makes everyone feel welcome. This reka bread recipe brings that comforting experience right to your kitchen. Whether you’re a seasoned baker looking for a reliable staple or just starting out on your baking adventures, this easy reka bread recipe is designed to be simple, straightforward, and utterly delicious. Forget complicated techniques and hard-to-find ingredients – this recipe focuses on simplicity and flavor, perfect for a weeknight bake or a weekend treat.
Imagine enjoying a warm slice of homemade reka bread with your family or friends – the perfect complement to any meal, a delightful snack on its own, or even a blank canvas for some delicious toppings. Think about spreading some homemade jam, a dollop of creamy butter, or even dipping it into a hearty soup! This article will guide you through each step with clear and concise instructions, ensuring you create a perfect loaf every time. We’ll cover everything from ingredient selection to baking tips so that you can confidently make this bread again and again. Let’s embark on this baking journey together and discover the joy of making your own reka bread! You might also want to check out our guide to making a delicious roasted asparagus tart to serve alongside your fresh bread!
2. Understanding Reka Bread
Before we dive into the recipe and get our hands floury, let’s take a moment to understand what makes reka bread special and different from other types of bread. Reka bread is known for its simple ingredients, its beautiful, slightly rustic appearance, and its satisfying texture. It’s a versatile bread that can be enjoyed in numerous ways, from hearty sandwiches piled high with your favorite fillings to simple toast slathered with butter and jam. It’s also a perfect accompaniment to many dinner ideas!
The beauty of this reka bread recipe lies not only in its delicious taste but also in its adaptability – you can customize it with different flours, seeds, or spices to suit your taste and dietary needs. Want a heartier loaf? Try adding some whole wheat flour. Craving something savory? Sprinkle in some dried herbs. The basic reka bread provides a fantastic foundation for experimentation, allowing you to create a unique loaf that reflects your personal preferences and complements your meals. Why not try adding dill to it with fresh glazed carrots with dill? With this easy reka bread recipe, you’ll have a reliable method for creating a delightful bread that your family will love, and that you can proudly call your own.
3. Gathering Your Ingredients
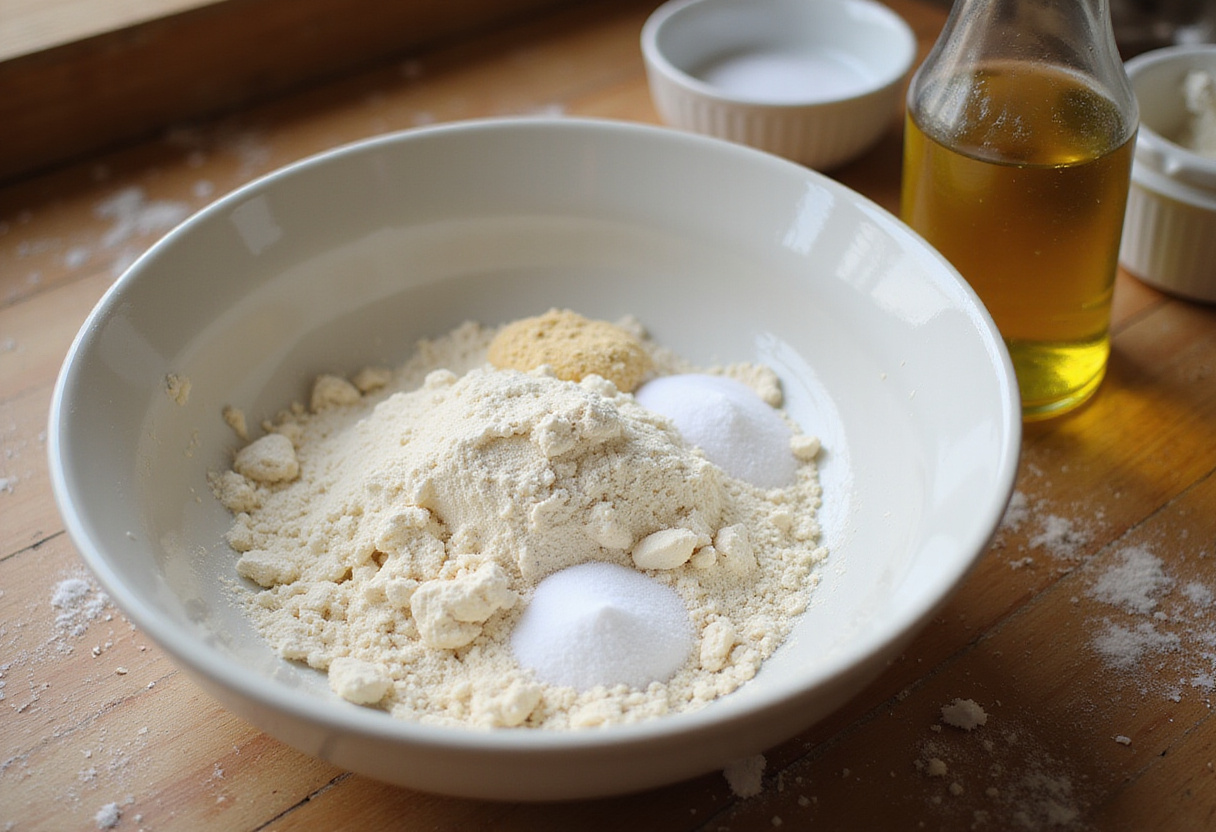
To make the perfect reka bread that will impress even the most discerning bread connoisseur (or just your hungry family!), you’ll need the following ingredients. Make sure you have everything on hand before you begin – it makes the baking process much smoother and more enjoyable:
- 3 cups all-purpose flour (or bread flour for a chewier texture – experiment and see which you prefer!)
- 1 teaspoon salt
- 1 tablespoon sugar (this helps activate the yeast and adds a touch of sweetness)
- 1 packet (2 1/4 teaspoons) active dry yeast
- 1 1/4 cups warm water (105-115°F) – temperature is crucial for activating the yeast properly
- 2 tablespoons olive oil, plus more for greasing (olive oil adds flavor and helps create a tender crumb)
Make sure your yeast is active and not expired for the best results. Expired yeast won’t rise properly, resulting in a dense, flat loaf. A good test is to mix the yeast with warm water and sugar; if it doesn’t foam after 5-10 minutes, it’s likely dead. Having all your ingredients measured and ready to go, also known as *mise en place* in culinary terms, will make the baking process smoother and more enjoyable. It allows you to focus on the technique and enjoy the process. This homemade reka bread starts with simple ingredients, but the end result is extraordinary. This easy reka bread recipe is all about simplicity and great taste. Check out our disclaimer for more information on our recipes and recommended ingredients.
4. Step-by-Step Instructions
Now for the fun part – let’s get baking! Follow these step-by-step instructions carefully for a perfect loaf of reka bread every time.
1. Preparing the Dough
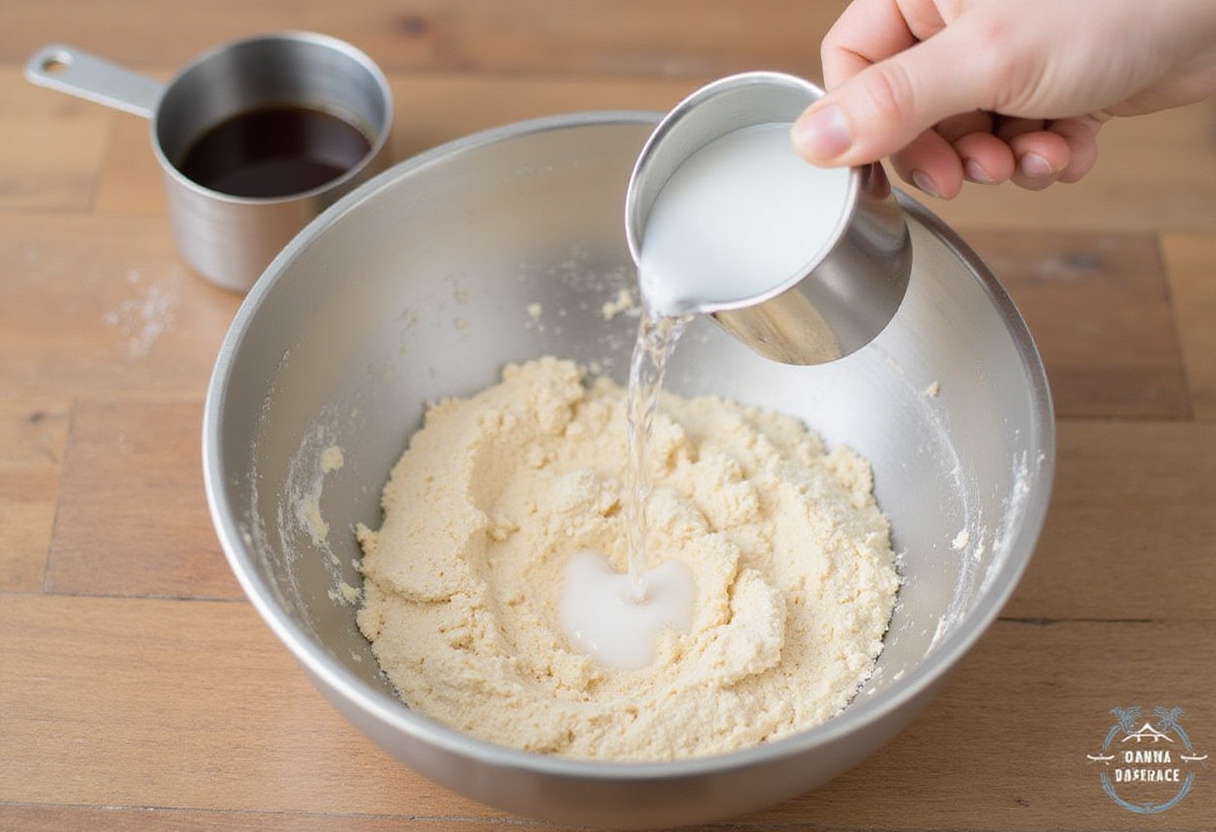
In a large bowl (or the bowl of your stand mixer, if you have one), combine the flour, salt, and sugar. Give it a quick whisk to ensure the ingredients are evenly distributed. In a separate small bowl, dissolve the yeast in warm water. Let it sit for about 5-10 minutes until it becomes foamy. This indicates that the yeast is active and ready to work its magic! Add the yeast mixture and olive oil to the dry ingredients. Mix until a shaggy dough forms. You can use a wooden spoon, a spatula, or your hands for this step. This initial mixing is crucial for developing the gluten in your reka bread, which will give it its structure and chewy texture.
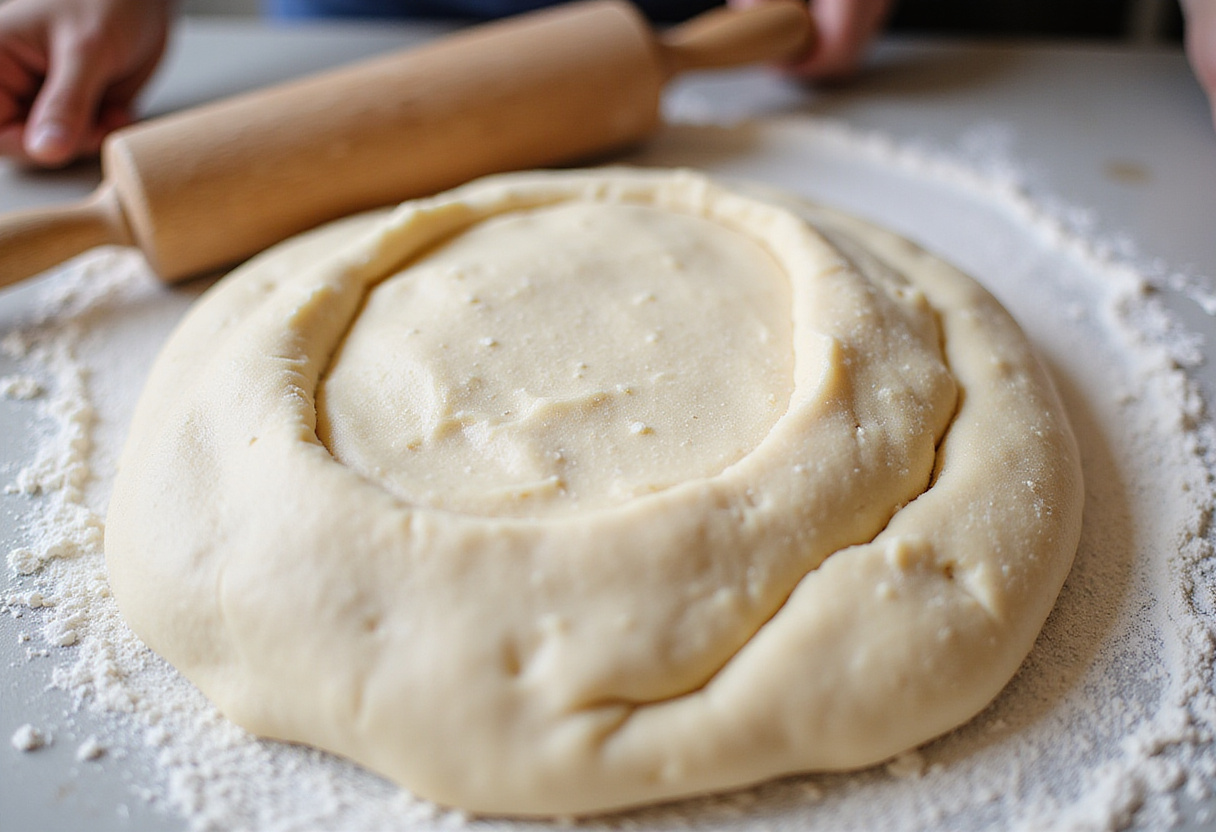
2. Kneading the Dough
Turn the dough out onto a lightly floured surface (this prevents it from sticking!) and knead for 5-7 minutes until it becomes smooth and elastic. Kneading develops the gluten in the flour, which gives the bread its structure and chewy texture. If the dough is too sticky, add a little flour, one tablespoon at a time, until it becomes manageable. Don’t add too much, or the bread will be dry! Kneading is essential for developing the structure of your reka bread. You can also knead the dough in a stand mixer with a dough hook for about 5 minutes. This step will make all the difference in the final texture of your homemade reka bread. Proper kneading ensures a light and airy reka bread. If you’re looking for another great recipe, visit our page on breakfast ideas.
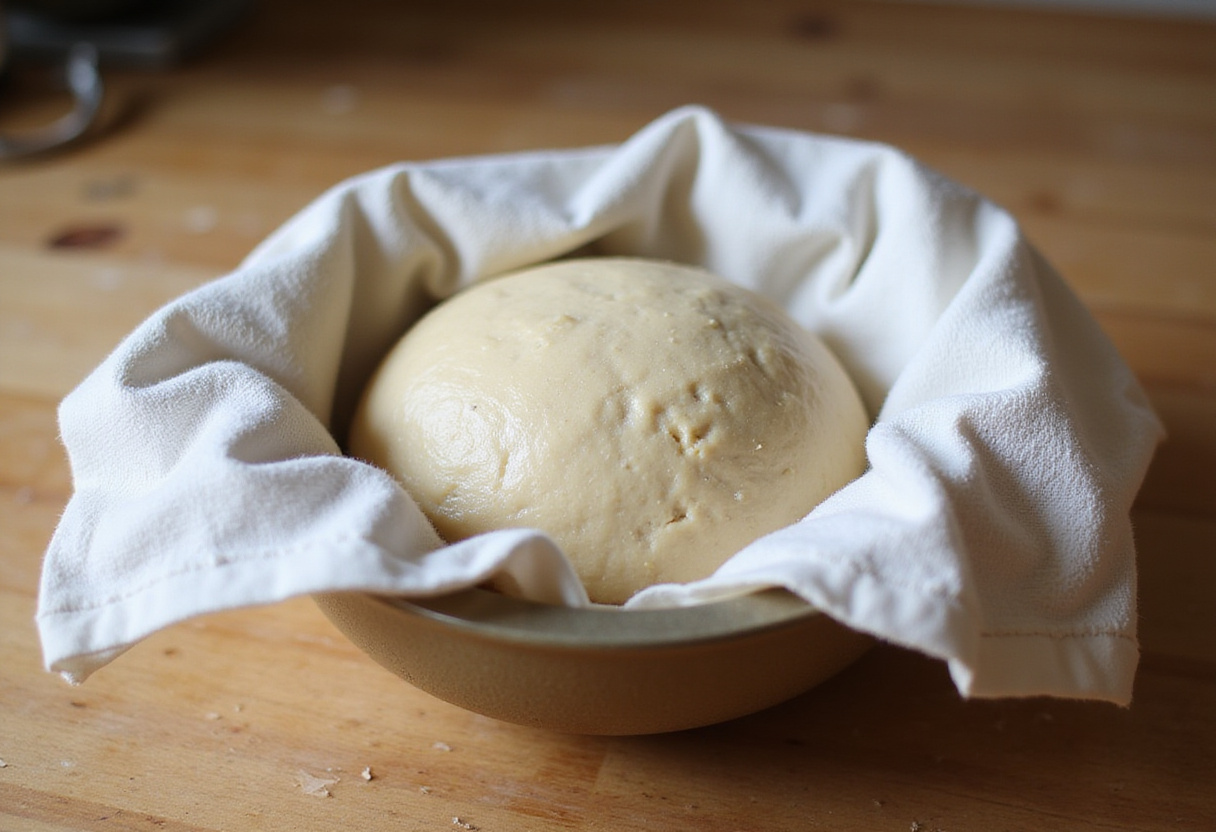
3. Proofing the Dough
Place the dough in a lightly oiled bowl, turning to coat. This prevents the dough from drying out during the rising process. Cover the bowl with plastic wrap or a clean kitchen towel. Let it rise in a warm place for about 1-1.5 hours, or until doubled in size. The warmer the environment, the faster it will rise. A good place to proof dough is in a turned-off oven with the light on, or near a warm stove. This rising period is crucial for the yeast to do its work and create a light and airy reka bread. The yeast consumes the sugars in the dough and produces carbon dioxide, which causes the dough to rise. Ensure the dough is in a warm, draft-free area for optimal rising. Proofing is key to a perfect reka bread recipe. Meanwhile, you can visit this link to discuss this recipe with other bakers.
4. Baking the Bread
Preheat your oven to 375°F (190°C). Make sure your oven is properly preheated before baking, as this is essential for even cooking. Punch down the dough to release the air. This prevents large air pockets from forming in the bread. Shape the dough into a loaf and place it in a greased loaf pan. You can use cooking spray or olive oil to grease the pan. Let it rest for another 20-30 minutes. This is called a “second proof” and allows the dough to rise slightly, resulting in a lighter texture. Bake for 30-35 minutes, or until the loaf is golden brown and sounds hollow when tapped on the bottom. A hollow sound indicates that the bread is fully cooked. Let it cool in the pan for a few minutes before transferring it to a wire rack to cool completely. Cooling the bread completely before slicing prevents it from becoming gummy. The baking process transforms the dough into a beautiful loaf of reka bread. If you have a sweet tooth, don’t hesitate to check out this lemon poppy seed cake!
5. Tips for Perfect Reka Bread
Want to take your reka bread baking to the next level? Here are some expert tips to help you achieve perfection:
- Use a kitchen thermometer to ensure the water is at the right temperature (105-115°F) for activating the yeast. Too hot, and you’ll kill the yeast; too cold, and it won’t activate.
- Don’t over-knead the dough, as this can result in a tough bread. Over-kneading develops too much gluten, making the bread dense and chewy.
- If your oven tends to brown bread quickly, cover the loaf with foil during the last 10-15 minutes of baking. This prevents the top from burning while the inside finishes cooking.
- Allow the bread to cool completely before slicing to prevent it from becoming gummy. Slicing warm bread compresses the crumb and makes it sticky.
- Experiment with different flours, such as whole wheat or rye, for a unique flavor. Each flour will impart a different taste and texture to the bread.
Following these tips will help you achieve the best possible results with your reka bread recipe. Enjoy the process and don’t be afraid to experiment! Bread baking is a science, but it’s also an art. Embrace the journey and have fun creating your perfect loaf. You can also find more tips on our about me page!
6. Variations and Add-Ins
One of the best things about this reka bread recipe is its versatility. Once you’ve mastered the basic recipe, you can experiment with different variations and add-ins to create unique and flavorful loaves. Here are a few ideas to get you started:
- Herbed Reka Bread: Add 1-2 tablespoons of dried herbs, such as rosemary, thyme, or oregano, to the dough. These herbs will infuse the bread with a savory aroma and flavor.
- Seeded Reka Bread: Incorporate 1/4 cup of mixed seeds, such as sunflower, sesame, or poppy seeds, into the dough. Seeds add texture, flavor, and nutritional value to the bread.
- Cheese Reka Bread: Mix in 1 cup of shredded cheese, such as cheddar or mozzarella, into the dough. Cheese adds a rich, savory flavor and a gooey texture to the bread.
- Sweet Reka Bread: Add 1/4 cup of honey or maple syrup to the dough for a touch of sweetness. This is perfect for pairing with breakfast dishes or serving as a dessert bread.
These variations can transform your homemade reka bread into something truly special and unique to your taste. Don’t be afraid to get creative and come up with your own signature variations! Consider adding bacon to your bread along with these bacon wrapped green beans.
7. Serving Suggestions
Reka bread is incredibly versatile and can be enjoyed in so many ways. It’s a staple that belongs in everyone’s kitchen!
- Serve it warm with butter or olive oil. The simplest way to enjoy the bread’s flavor.
- Use it to make delicious sandwiches. Perfect for lunch or a quick and easy dinner.
- Toast it for breakfast and top with your favorite spread. From jam to avocado, the possibilities are endless.
- Serve it alongside soups or salads. It’s the perfect accompaniment to a light and healthy meal.
- Make croutons for salads or soups. A great way to use up leftover bread.
The possibilities are endless! This easy reka bread recipe is a crowd-pleaser and will quickly become a staple in your kitchen. Share to your friends and family, and don’t forget to bake it with love!
8. Storing Your Reka Bread
To keep your reka bread fresh and delicious for as long as possible, proper storage is key.
To keep your reka bread fresh, store it in an airtight container at room temperature for up to 3 days. A bread box or a large zip-top bag works well. For longer storage, you can freeze the loaf. Wrap it tightly in plastic wrap and then in aluminum foil, or place it in a freezer bag. This will prevent freezer burn and keep the bread from drying out. It can be stored in the freezer for up to 2-3 months. When ready to use, thaw it at room temperature and warm it in the oven for a few minutes to restore its freshness.
9. Conclusion
Congratulations! You’ve successfully baked a loaf of reka bread. This easy reka bread recipe is a fantastic way to enjoy the simple pleasure of homemade bread. With its straightforward instructions and customizable options, you can create a homemade reka bread that perfectly suits your taste. Now that you know the basics, feel free to adjust it to your own preferences. Enjoy the warmth, aroma, and deliciousness of your freshly baked reka bread. Happy baking! Also make sure to check out our delicious desserts.
Print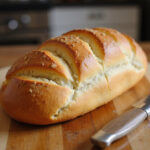
reka bread recipe
- Total Time: 2 hours
- Yield: 1 loaf 1x
- Diet: Vegetarian
Description
Bake a loaf of comforting homemade Reka bread with this easy-to-follow recipe. Perfect for beginners and experienced bakers alike, this versatile bread is delicious on its own or used in sandwiches, toast, and more!
Ingredients
- 3 cups all-purpose flour (or bread flour for a chewier texture)
- 1 teaspoon salt
- 1 tablespoon sugar
- 1 packet (2 1/4 teaspoons) active dry yeast
- 1 1/4 cups warm water (105-115°F)
- 2 tablespoons olive oil, plus more for greasing
Instructions
- In a large bowl, combine the flour, salt, and sugar.
- In a separate small bowl, dissolve the yeast in warm water. Let it sit for about 5-10 minutes until foamy.
- Add the yeast mixture and olive oil to the dry ingredients. Mix until a shaggy dough forms.
- Turn the dough out onto a lightly floured surface and knead for 5-7 minutes until smooth and elastic. If the dough is too sticky, add a little flour, one tablespoon at a time.
- Place the dough in a lightly oiled bowl, turning to coat. Cover the bowl with plastic wrap or a clean kitchen towel. Let it rise in a warm place for about 1-1.5 hours, or until doubled in size.
- Preheat your oven to 375°F (190°C).
- Punch down the dough to release the air. Shape the dough into a loaf and place it in a greased loaf pan. Let it rest for another 20-30 minutes.
- Bake for 30-35 minutes, or until the loaf is golden brown and sounds hollow when tapped on the bottom.
- Let it cool in the pan for a few minutes before transferring it to a wire rack to cool completely.
Notes
- Use a kitchen thermometer to ensure the water is at the right temperature (105-115°F) for activating the yeast.
- Don’t over-knead the dough, as this can result in a tough bread.
- If your oven tends to brown bread quickly, cover the loaf with foil during the last 10-15 minutes of baking.
- Allow the bread to cool completely before slicing to prevent it from becoming gummy.
- Experiment with different flours, such as whole wheat or rye, for a unique flavor.
- Prep Time: 20 minutes
- Cook Time: 35 minutes
- Category: Bread
- Method: Baking
- Cuisine: Eastern European
Nutrition
- Serving Size: 1 slice (approx. 1/12 of loaf)
- Calories: 175 Kcal
- Sugar: 3g
- Sodium: 200mg
- Fat: 4g
- Saturated Fat: 0.5g
- Unsaturated Fat: 3g
- Trans Fat: 0g
- Carbohydrates: 30g
- Fiber: 1g
- Protein: 5g
- Cholesterol: 0mg
Keywords: reka bread, homemade bread, easy bread recipe, baking, bread recipe, homemade reka bread


No comment