

Easter Bunny Cake: A Festive and Adorable Dessert for Your Spring Celebration
Looking for a show-stopping dessert to impress your family this Easter? This Easter Bunny Cake recipe is the perfect way to add a touch of whimsy and sweetness to your holiday table. With its fluffy frosting, coconut fur, and candy decorations, this cake is as fun to make as it is to eat! Whether you’re a baking novice or a seasoned pro, our step-by-step guide will help you create an unforgettable Easter bunny cake that everyone will adore.
If you’re looking for more delicious dessert ideas, be sure to check out our collection of sweet treats that are perfect for any occasion.

Ingredients for Your Easter Bunny Cake
Before you begin, gather these simple ingredients to create your masterpiece:
- 1 box white cake mix (plus required ingredients: eggs, oil, water)
- 4 cups white frosting (homemade or store-bought)
- 2 cups sweetened shredded coconut
- Pink food coloring (gel preferred for vibrant color)
- Assorted candies (jelly beans, licorice, chocolate chips for decoration)
- 2 marshmallows (for bunny teeth – the cutest detail!)
For those who love creative recipes, you might also enjoy our Potato Chip Toffee – another unique dessert that combines sweet and salty flavors.
Essential Equipment You’ll Need
- Two 9-inch round cake pans
- Parchment paper (for easy cake removal)
- Serrated knife (for precise cake cutting)
- Offset spatula (perfect for smooth frosting)
- Pastry brush (helpful for crumb control)
- Small bowls for decorating (keep your candy organized)
Step-by-Step Instructions for the Perfect Easter Bunny Cake
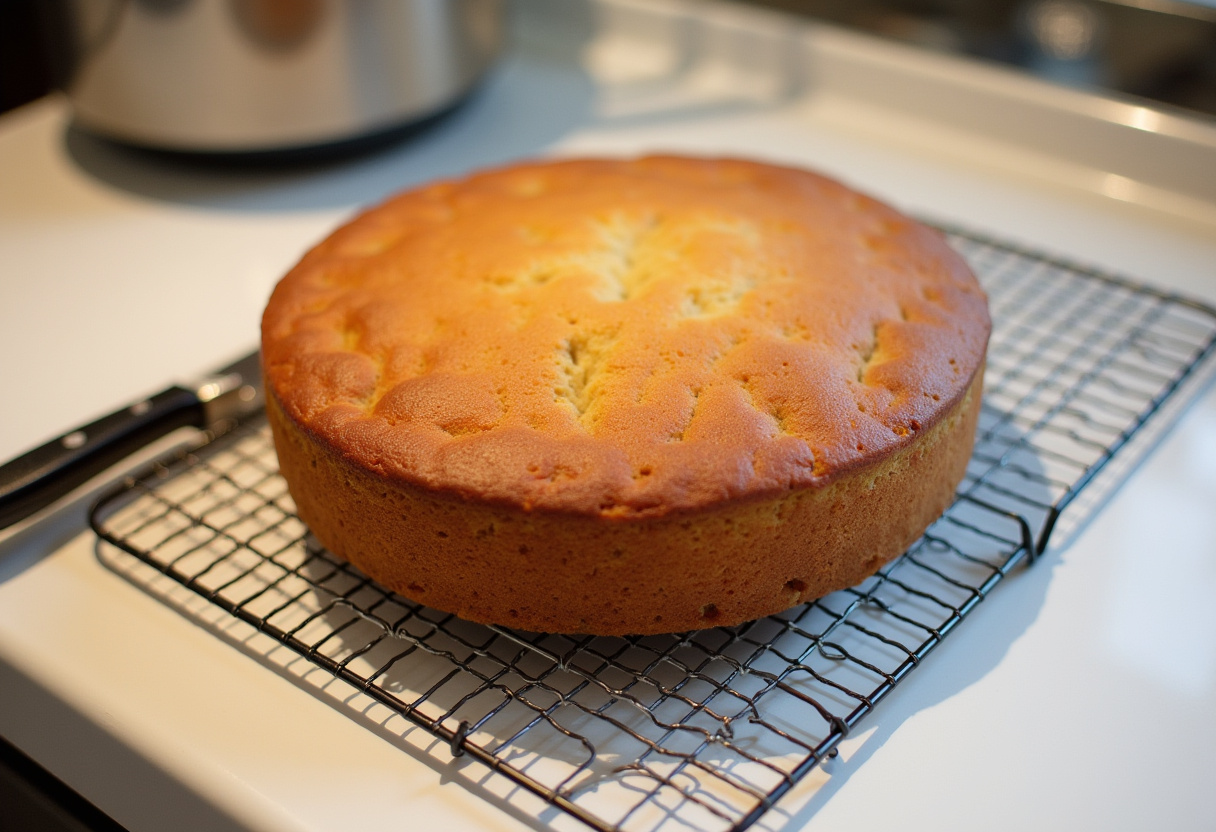
Step 1: Bake and Cool Your Cakes
Begin by preparing your cake mix according to package directions. For best results, we recommend using room temperature ingredients. Divide the batter evenly between two greased and parchment-lined 9-inch round cake pans. Bake as directed (typically 25-30 minutes at 350°F) until a toothpick inserted in the center comes out clean.
Let the cakes cool completely on wire racks – this is crucial for easy handling. Once cooled, carefully remove from pans and peel off parchment paper. If you’re making this ahead of time, you can wrap the cooled cakes in plastic wrap and store at room temperature overnight.
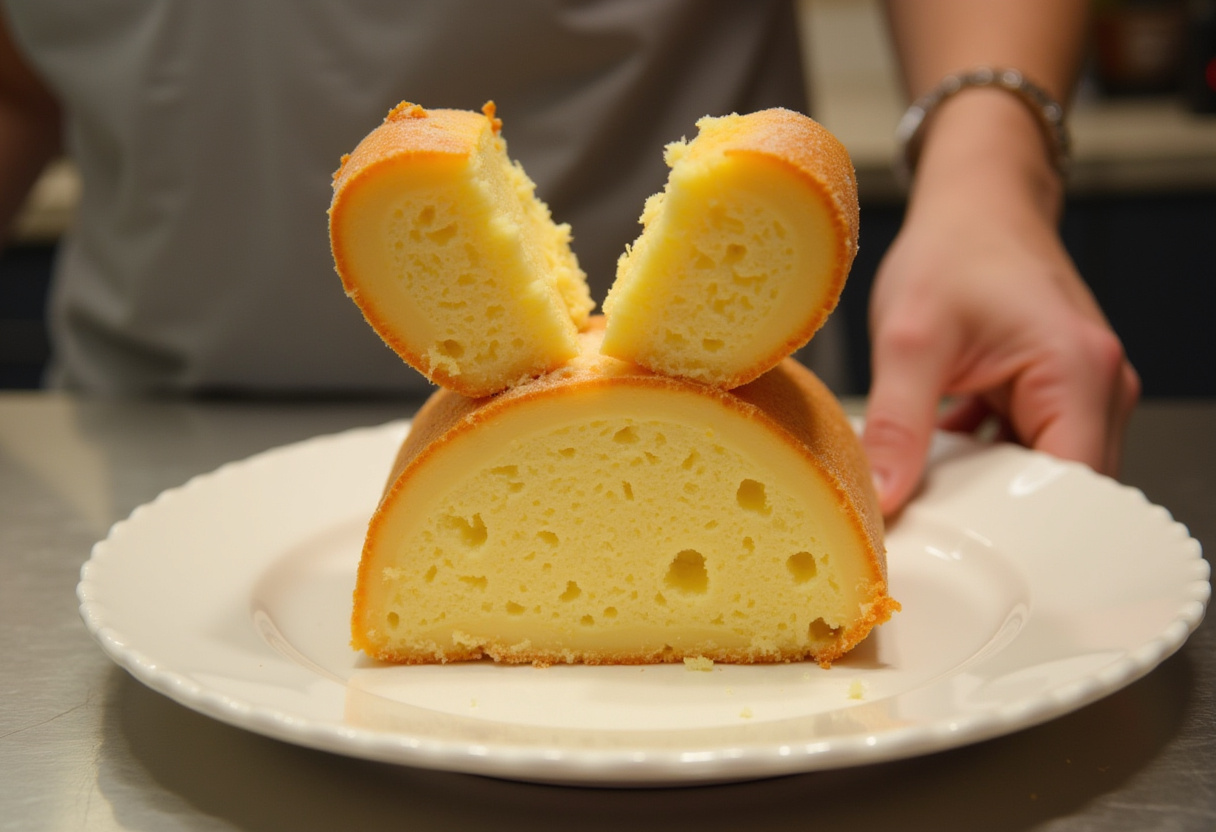
Step 2: Shape Your Bunny
Now comes the fun part – transforming simple round cakes into an adorable bunny! Place one whole round cake on your serving platter – this will be the bunny’s face. For the second cake, use a serrated knife to carefully cut it into three pieces:
- Two semi-circles for the ears
- A small center piece for the bowtie
Arrange the ears at the top of the face cake, positioning them slightly overlapping for stability. Place the bowtie piece at the bottom center to complete your bunny shape. If you’re worried about stability, you can use a small amount of frosting as “glue” between pieces.
If you’re enjoying this creative cooking process, you might also love our Copycat Chicken Bryan Recipe for another fun kitchen project.
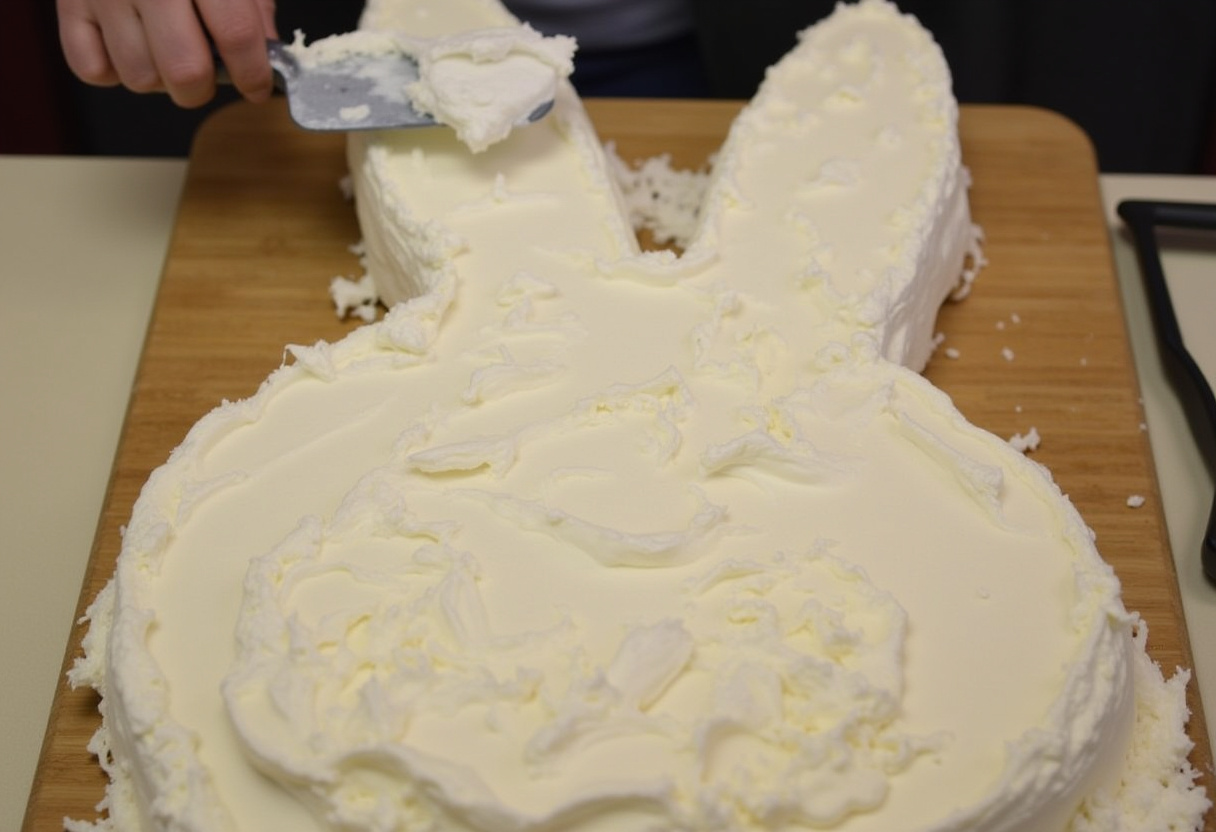
Step 3: Frost Your Bunny
Professional bakers know the secret to a flawless finish is the crumb coat. Apply a thin layer of white frosting over the entire cake to seal in crumbs. Use an offset spatula to create as smooth a surface as possible. Chill the cake for 15 minutes to set this layer.
After chilling, apply your final thick layer of white frosting. This time, you can be more generous with your frosting application. Smooth with your offset spatula, creating the perfect base for your coconut “fur.” Don’t worry about perfection – the coconut will cover any minor imperfections!
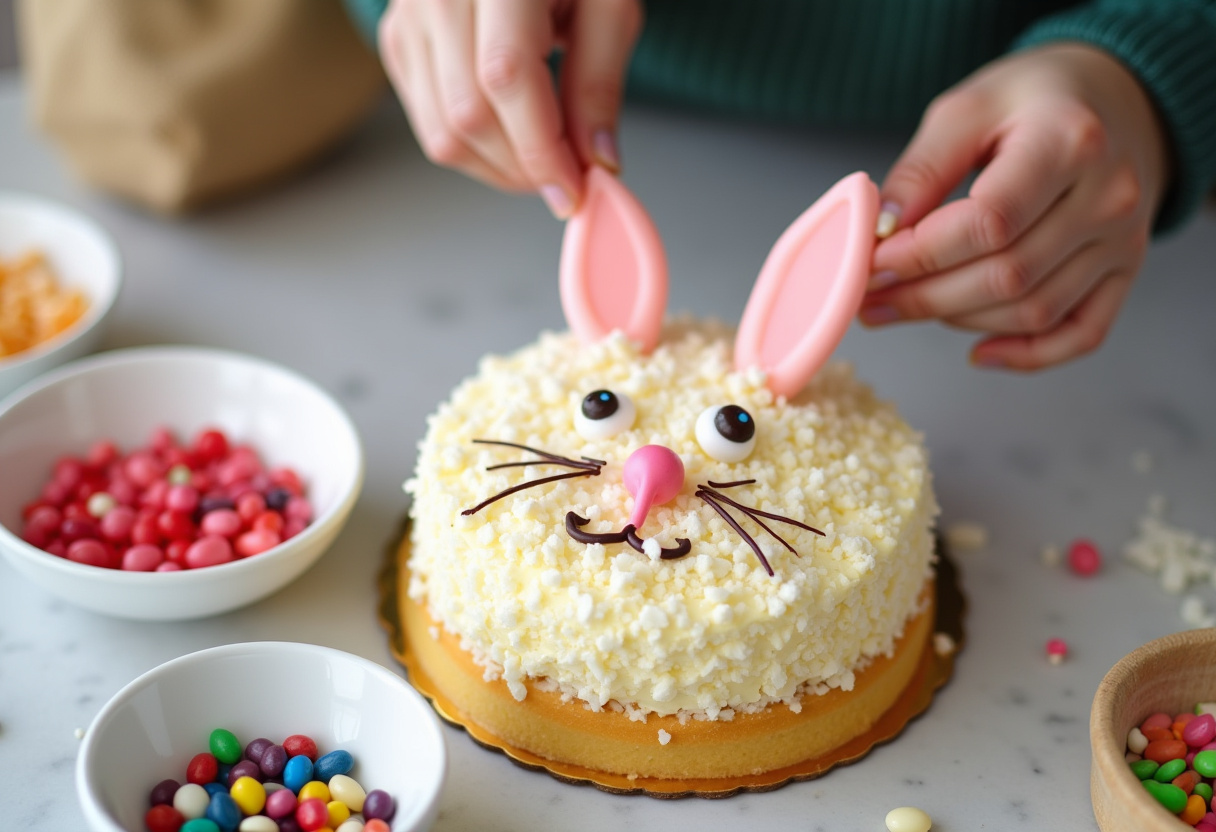
Step 4: Decorate Your Masterpiece
This is where your Easter bunny really comes to life! Generously press shredded coconut all over the frosted cake to create fluffy fur. For the inner ears, tint some coconut pink with food coloring – gel colors work best for vibrant hues without adding moisture.
Now for the fun details:
- Use jelly beans or chocolate chips for eyes
- A pink candy or jelly bean makes a perfect nose
- Thin licorice strips create adorable whiskers
- Don’t forget the marshmallow teeth for that signature bunny smile!
For more creative drink ideas to serve with your cake, check out our refreshing Limoncello Spritz recipe.
Creative Variations to Try
While the classic version is always delightful, here are some fun twists to make your Easter bunny cake unique:
- Chocolate Bunny: Use chocolate cake mix and chocolate frosting for a rich alternative
- Carrot Cake Bunny: Substitute with carrot cake recipe – perfect for Easter!
- Gluten-Free Option: Use gluten-free cake mix to accommodate dietary needs
- Pastel Colors: Dye coconut in pastel shades for a spring rainbow effect
- Mini Bunnies: Make individual cupcakes decorated as bunnies
For another festive main dish to complement your dessert, try our Mexican Mac and Cheese recipe.
Serving Suggestions for Your Easter Celebration
Your Easter bunny cake will be the star of the show, but here are some perfect pairings:
- Fresh berries and whipped cream – the tartness balances the sweetness
- Pastel-colored macarons – continue the spring theme
- Easter egg-shaped chocolates – scatter around the cake stand
- Sparkling lemonade or floral teas – refreshing beverages
- Vanilla ice cream – for those who love cake à la mode
Storage Tips for Your Easter Bunny Cake
To keep your creation fresh:
- Store at room temperature covered with a cake dome for up to 2 days
- For longer storage (up to 5 days), refrigerate in an airtight container
- The coconut may lose some fluffiness when refrigerated – refresh with a sprinkle of fresh coconut before serving
- Undecorated cake layers can be frozen for up to 1 month
Frequently Asked Questions
Can I make this cake ahead of time?
Absolutely! Bake the cakes 1-2 days in advance and store wrapped at room temperature. Frost and decorate the day of serving for best results. The assembled cake is best enjoyed within 24 hours of decorating.
How can I make the ears stand up better?
For more upright ears, insert toothpicks or skewers where the ears meet the head for support before frosting. You can also cut the ears slightly thicker for more stability.
What can I use instead of coconut?
If you’re not a coconut fan, try:
- White sprinkles for a sparkly effect
- Piped white frosting swirls for a different texture
- Crushed white candy melts for a smooth appearance
Can kids help make this cake?
Absolutely! Decorating the Easter bunny cake is a perfect activity for children. Let them:
- Place the candy features (eyes, nose, whiskers)
- Sprinkle the coconut “fur”
- Help mix the batter (with supervision)
- Choose the candy decorations
For more family-friendly recipes, browse our breakfast ideas or dinner recipes.
Final Thoughts on Your Easter Bunny Cake
This Easter bunny cake recipe is sure to become a beloved tradition in your household. With its charming appearance and delicious taste, it’s the perfect way to celebrate spring and create lasting memories with your loved ones. Whether you’re hosting a large gathering or enjoying a quiet family dinner, this adorable dessert will bring smiles to everyone’s faces.
For more inspiration, check out this similar Easy Bunny Cake recipe from AllRecipes.
Want to know more about our recipes? Visit our About Me page. For legal information, see our Disclaimer and Terms and Conditions.
Happy baking and Happy Easter! May your celebration be as sweet as your bunny cake!
Print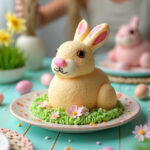
Easter Bunny Cake
- Total Time: 55 minutes
Description
Create an adorable Easter Bunny Cake that’s perfect for your spring celebration! This festive dessert features fluffy white frosting, sweet coconut fur, and fun candy decorations. Easy to make with boxed cake mix, it’s a show-stopping centerpiece for your Easter table that both kids and adults will love.
Ingredients
- 1 box white cake mix (plus required ingredients: eggs, oil, water)
- 4 cups white frosting (homemade or store-bought)
- 2 cups sweetened shredded coconut
- Pink food coloring (gel preferred)
- Assorted candies (jelly beans, licorice, chocolate chips for decoration)
- 2 marshmallows (for bunny teeth)
Instructions
- Bake cakes according to package directions using two 9-inch round pans. Cool completely.
- Cut one cake into ears and bowtie shapes, keeping one whole round for the face.
- Assemble bunny shape on serving platter with ears at top and bowtie at bottom.
- Apply crumb coat of frosting, chill 15 minutes, then apply final thick frosting layer.
- Press coconut all over cake for fur, using pink-tinted coconut for inner ears.
- Decorate with candies for eyes, nose, whiskers, and marshmallow teeth.
Notes
- For upright ears, insert toothpicks where ears meet head before frosting
- Make ahead tip: Bake cakes 1-2 days early, decorate day of serving
- Kids love helping decorate with candies and coconut
- Store covered at room temperature for up to 2 days
- Prep Time: 30 minutes
- Cook Time: 25 minutes
Nutrition
- Serving Size: 1 slice
- Calories: 380 Kcal
- Sugar: 42g
- Sodium: 320mg
- Fat: 16g
- Saturated Fat: 8g
- Unsaturated Fat: 6g
- Trans Fat: 0g
- Carbohydrates: 58g
- Fiber: 1g
- Protein: 3g
- Cholesterol: 35mg


No comment