

Cherry Cheesecake: A Delectable Creamy Indulgence with Cherry Bliss 🍒🍰✨
1. Introduction
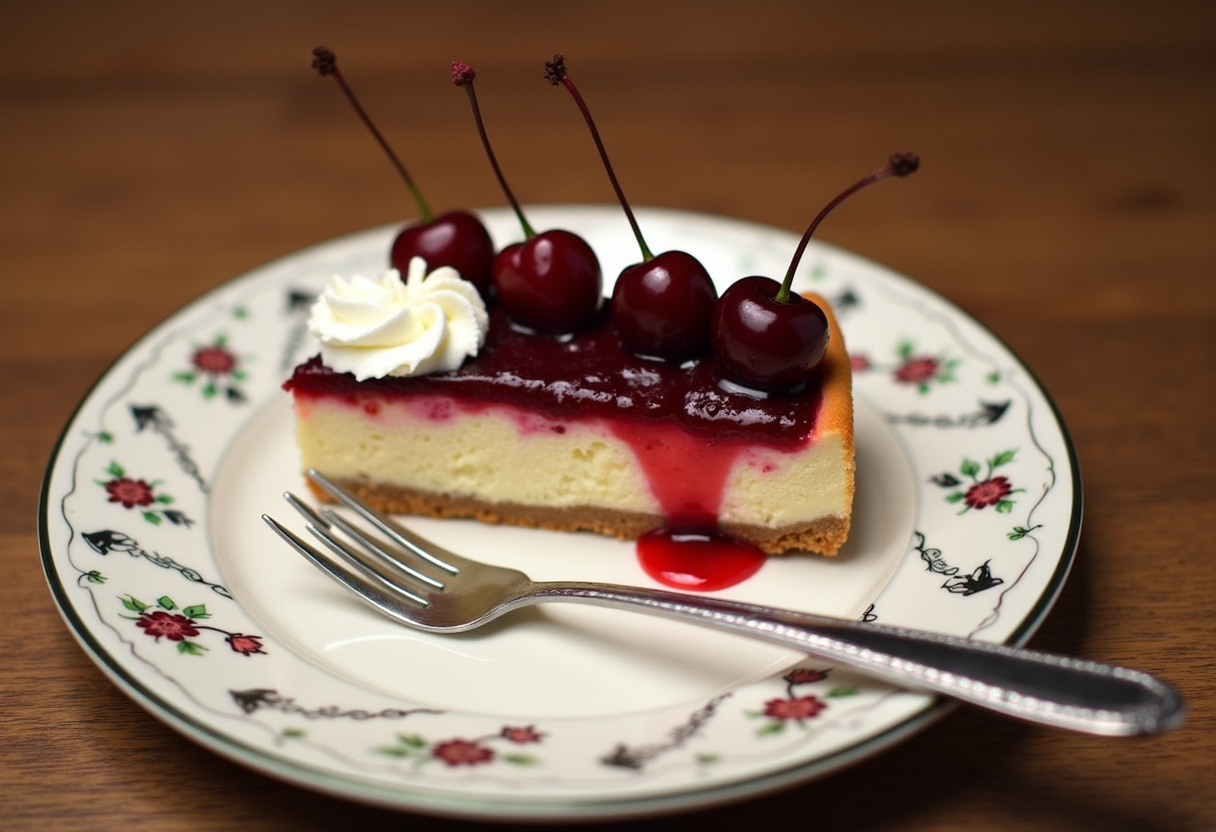
If you’re in search of a dessert that tantalizes the taste buds and balances creamy textures with a burst of fruity flavor, then look no further than this incredible cherry cheesecake recipe. This mouthwatering cheesecake features a rich, velvety filling that pairs perfectly with a delicious graham cracker crust, all crowned with a luscious and vibrant cherry pie filling. Whether it’s for a festive gathering, a special birthday celebration, or even a cozy night spent at home, this dessert is a showstopper that is sure to impress everyone around your table. Join us on this culinary adventure as we explore the extraordinary world of cheesecake, particularly the delightful cherry kind!
2. Ingredients
To whip up this delightful cherry cheesecake recipe, you’ll need the following ingredients:
- 1 ½ cups graham cracker crumbs
- ½ cup unsalted butter, melted
- 2 (8-ounce) packages cream cheese, softened to room temperature
- 1 cup granulated sugar
- 1 teaspoon vanilla extract
- 3 large eggs
- 1 can (21 ounces) cherry pie filling, or alternatively fresh cherries
- Whipped cream, for serving (optional but highly recommended)
3. Preparation Steps
Step 1: Make the Crust
Start your cheesecake journey by preheating your oven to 325°F (163°C). In a mixing bowl, combine the graham cracker crumbs with melted butter, blending them until you reach a sandy consistency. Press this crumb mixture firmly into the bottom of a 9-inch springform pan. This painstaking step will provide a perfect base for your luscious cherry cheesecake recipe, ensuring each slice has that delightful crunch.
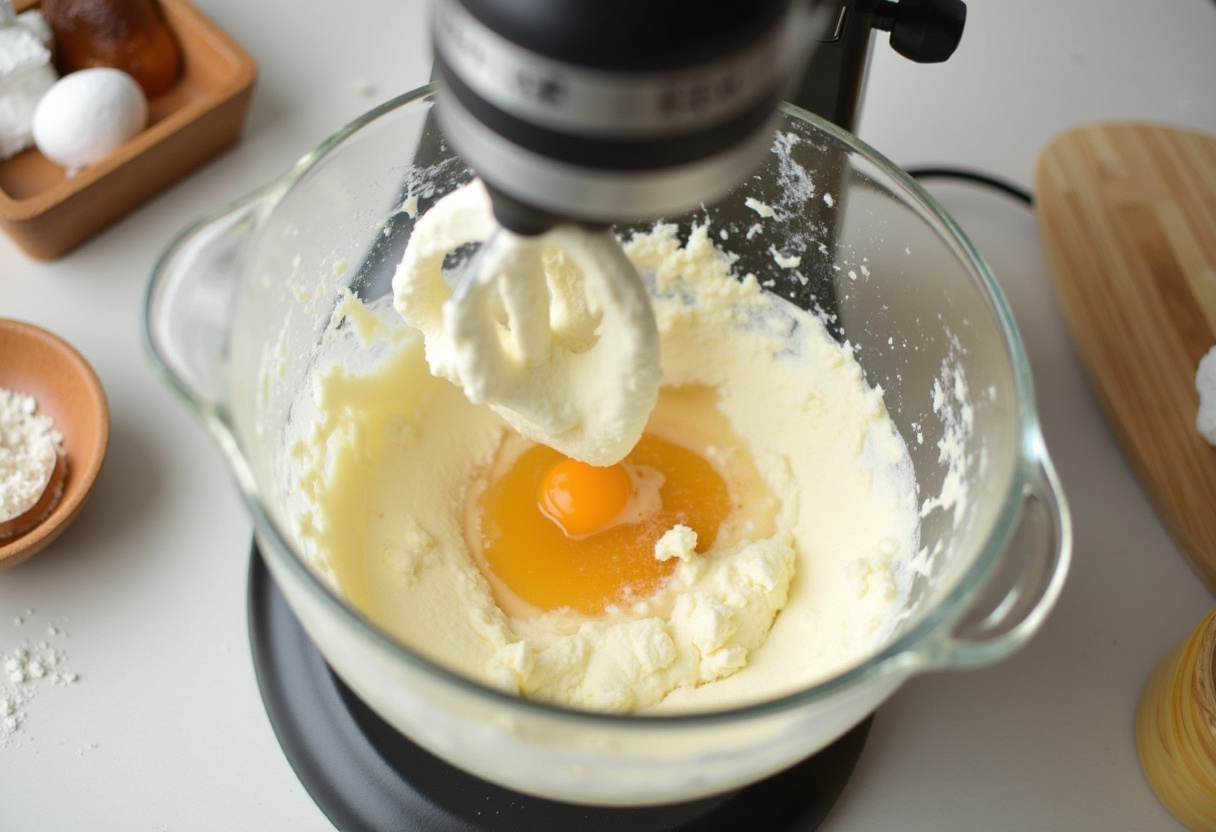
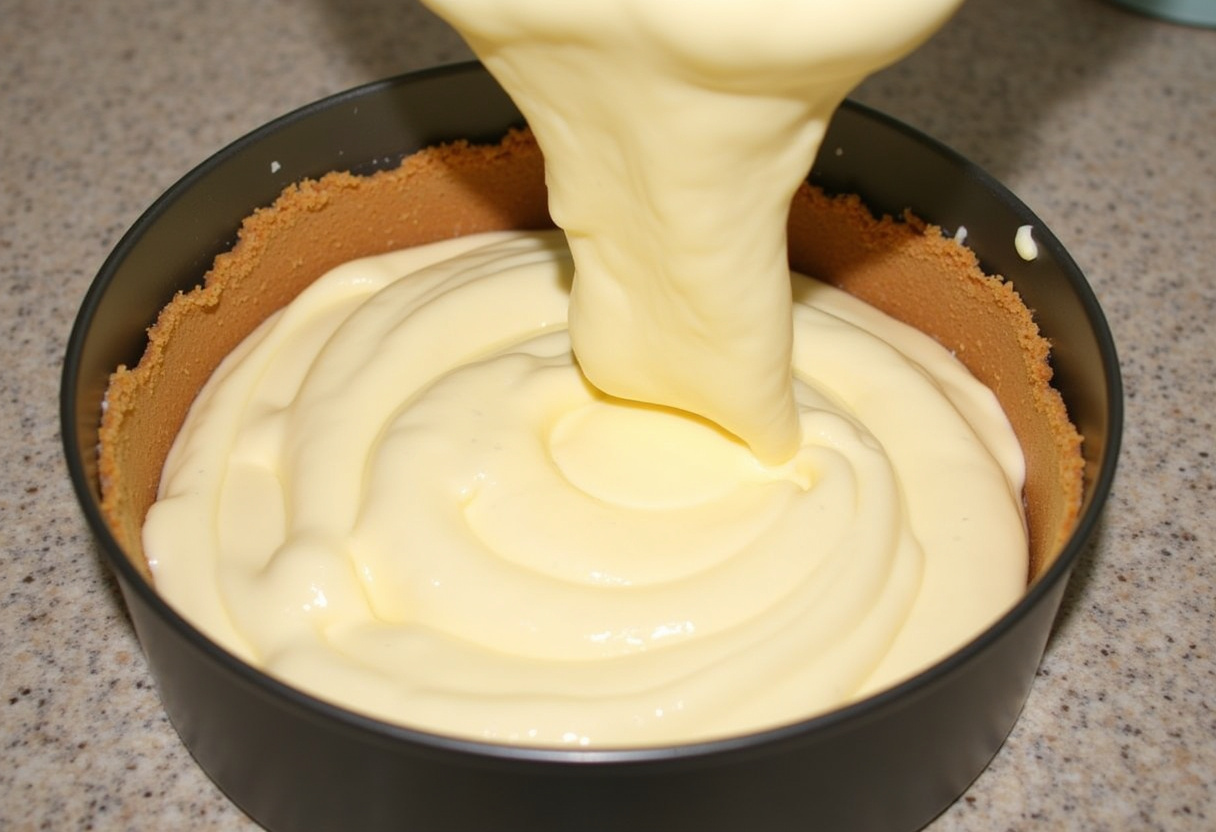
Step 2: Prepare the Filling
In a large mixing bowl, beat the softened cream cheese with sugar and vanilla extract using an electric mixer until you have a smooth and creamy texture. It’s crucial to ensure that there are no lumps. Add the eggs one at a time, mixing just until they’re incorporated. Be careful not to overmix, as this can lead to cracks in your cheesecake. Once combined, pour this creamy mixture over your prepared crust and spread it evenly. This luscious filling is undoubtedly the star of our cherry cheesecake recipe, promising an indulgent dessert experience.
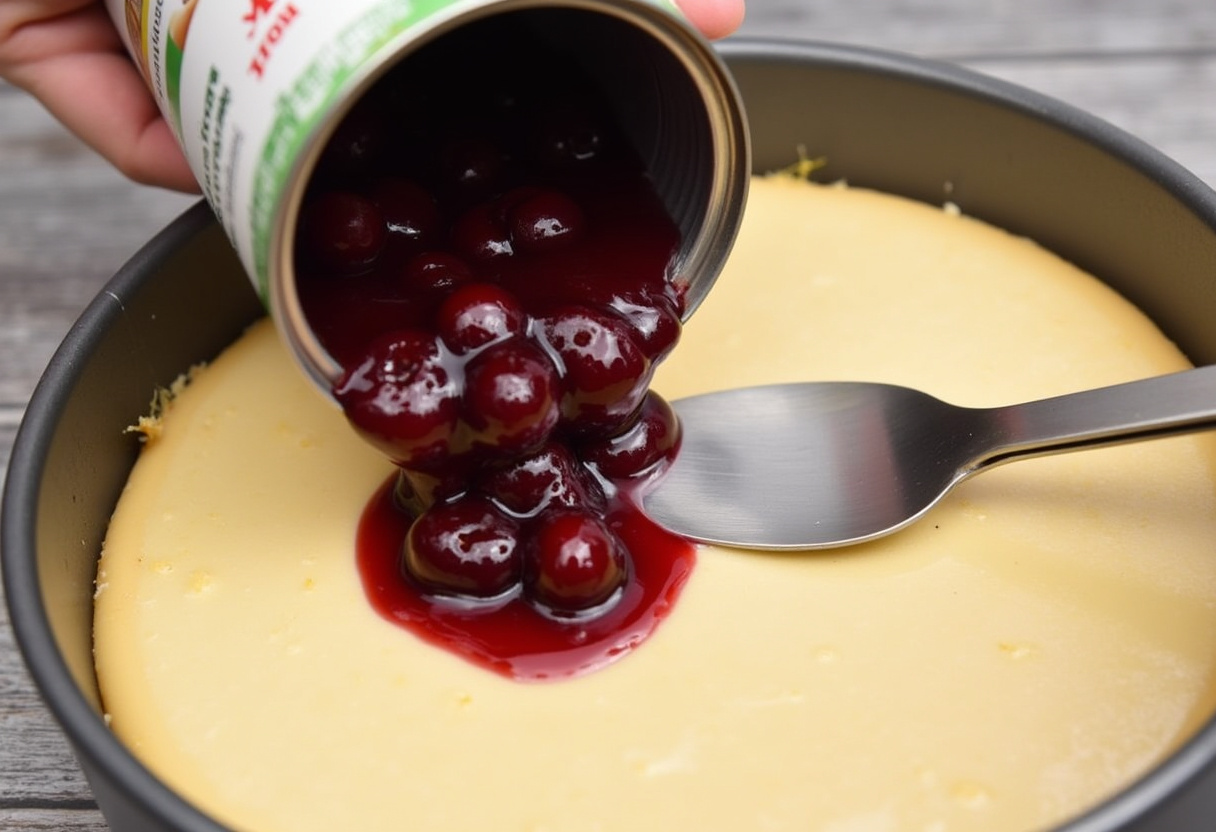
Step 3: Add the Cherry Topping
Now, it’s time to bring your cheesecake to life with a vibrant cherry topping! Pour the cherry pie filling evenly over the cheesecake filling, letting the cherries cascade beautifully over the surface. This topping not only adds an enticing visual appeal but elevates the flavor, making this cherry cheesecake recipe genuinely unforgettable.
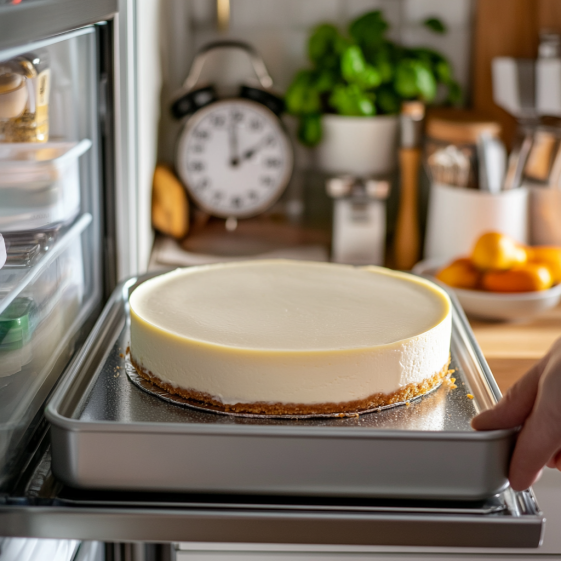
Step 4: Chill the Cheesecake
Carefully place the cheesecake in your preheated oven and bake for approximately 55-60 minutes. You’ll know it’s perfect when the center is set yet still exhibits a slight jiggle. Upon completing baking, turn off the oven and allow the cheesecake to cool inside for an hour—this cooling period allows the flavors to develop beautifully. Once cooled, transfer the cheesecake to the refrigerator and let it chill for at least 4 hours, though overnight chilling is ideal. This step ensures your cheesecake attains that perfect creamy texture we all crave.
4. Serving Suggestions
Once your cherry cheesecake has successfully set, it’s time to slice and serve this indulgent treat! You can enjoy it plain for that classic cheesecake experience, or you can elevate each slice by topping it with a generous dollop of freshly whipped cream. For a more gourmet flair, consider sprinkling a few chocolate shavings atop or drizzling a little chocolate sauce over the top. This exquisite cheesecake is bound to leave your family and friends in awe!
5. Variations
Feel free to get creative and customize your cherry cheesecake recipe by incorporating different flavors or ingredients that suit your taste. For instance, you could add a layer of rich chocolate ganache, switch the cherry topping for other fruit varieties like blueberry or strawberry pie filling, or even delve into flavored cream cheese options like almond or chocolate. The possibilities are truly endless when it comes to making this cheesecake your own!
6. Storing Your Cheesecake
If you find yourself with leftovers (though let’s be honest, that’s a rarity with such a delicious dessert!), make sure to keep your cherry cheesecake covered in the refrigerator for up to five days. For longer storage, you can freeze it for up to three months. Remember to wrap it well to maintain its creamy texture! When you’re ready to indulge again, simply thaw it in the refrigerator for a delightful treat at any time.
7. Nutritional Information
This cherry cheesecake recipe is undoubtedly rich and decadent, which is why it’s often reserved for special occasions. On average, a slice contains approximately 300-400 calories, depending on the serving size and any added toppings. However, considering its perfect balance of flavors, this dessert is a worth-the-splurge indulgence that’ll surely satisfy all your sweet cravings!
8. Frequently Asked Questions
Q: Can I use fresh cherries instead of cherry pie filling?
A: Absolutely! You can create your very own cherry topping using fresh cherries by cooking them down with some sugar, a dash of lemon juice, and a bit of cornstarch to thicken it up. This homemade cherry topping will elevate the flavor of your cheesecake even further!
Q: How do I know when the cheesecake is done baking?
A: The edges should be set, while the center should keep a gentle jiggle when you gently shake the pan. Remember, the cheesecake will continue to set as it cools, so it’s safe to trust the jiggle!
9. Conclusion
And there you have it—a delectable cherry cheesecake recipe that infuses the creamy richness of cheesecake with the delightful sweet zing of cherries. This marvelous dessert is perfect for any occasion, whether a family gathering, holiday feast, or simply as a special treat for yourself. It’s bound to become a beloved favorite among your loved ones. So roll up your sleeves, gather your ingredients, and treat yourself to this scrumptious cherry cheesecake without delay. Happy baking! 🍒🎂🥄
Print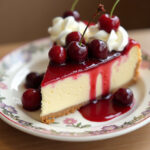
Cherry Cheesecake
- Total Time: 4 hours 20 minutes
- Yield: 10 servings 1x
- Diet: Vegetarian
Description
Indulge in this creamy cherry cheesecake, featuring a luscious filling paired with a buttery graham cracker crust and topped with vibrant cherry pie filling. Perfect for any occasion!
Ingredients
- 1 ½ cups graham cracker crumbs
- ½ cup unsalted butter, melted
- 2 (8-ounce) packages cream cheese, softened to room temperature
- 1 cup granulated sugar
- 1 teaspoon vanilla extract
- 3 large eggs
- 1 can (21 ounces) cherry pie filling, or alternatively fresh cherries
- Whipped cream, for serving (optional but highly recommended)
Instructions
- Preheat your oven to 325°F (163°C). Combine graham cracker crumbs and melted butter in a bowl. Press the mixture into the bottom of a 9-inch springform pan.
- In a large mixing bowl, beat the softened cream cheese with sugar and vanilla until smooth. Add eggs one at a time, mixing just until incorporated. Pour over the crust.
- Pour cherry pie filling over the cheesecake filling, evenly spreading it across the top.
- Bake in the preheated oven for 55-60 minutes. Allow to cool in the oven for 1 hour and then refrigerate for at least 4 hours before serving.
Notes
- For fresh cherry topping, consider cooking down fresh cherries with sugar and lemon juice.
- Overmixing can lead to cracks, so mix just until combined.
- Best stored covered in the refrigerator for up to 5 days, or freeze for longer storage.
- Prep Time: 20 minutes
- Cook Time: 60 minutes
- Category: Dessert
- Method: Baking
- Cuisine: American
Nutrition
- Serving Size: 1 slice
- Calories: 350 Kcal
- Sugar: 25g
- Sodium: 200mg
- Fat: 22g
- Saturated Fat: 13g
- Unsaturated Fat: 5g
- Trans Fat: 0g
- Carbohydrates: 30g
- Fiber: 1g
- Protein: 5g
- Cholesterol: 70mg
Keywords: cherry cheesecake, creamy cheesecake, dessert recipes, holiday dessert


No comment