

Batard Bread Recipe: Crafting the Perfect Homemade Loaf 🥖👨🍳🌟
1. Introduction
The quest for the perfect loaf of bread often leads home bakers to explore various shapes and techniques. Among these, the batard bread recipe stands out for its elegant form and delightfully crisp crust. A batard loaf, with its elongated oval shape, offers an excellent balance of crust and crumb, making it a favorite for sandwiches, dipping in soups, or simply enjoying with a smear of butter. This article will guide you through the process of creating your own homemade batard, ensuring a rewarding baking experience and a delicious outcome. Whether you’re a seasoned baker or a novice, mastering the French batard will undoubtedly elevate your bread-making skills. It’s a journey that combines simple ingredients with satisfying results. Let’s embark on this flavorful journey!
2. Understanding Batard Bread
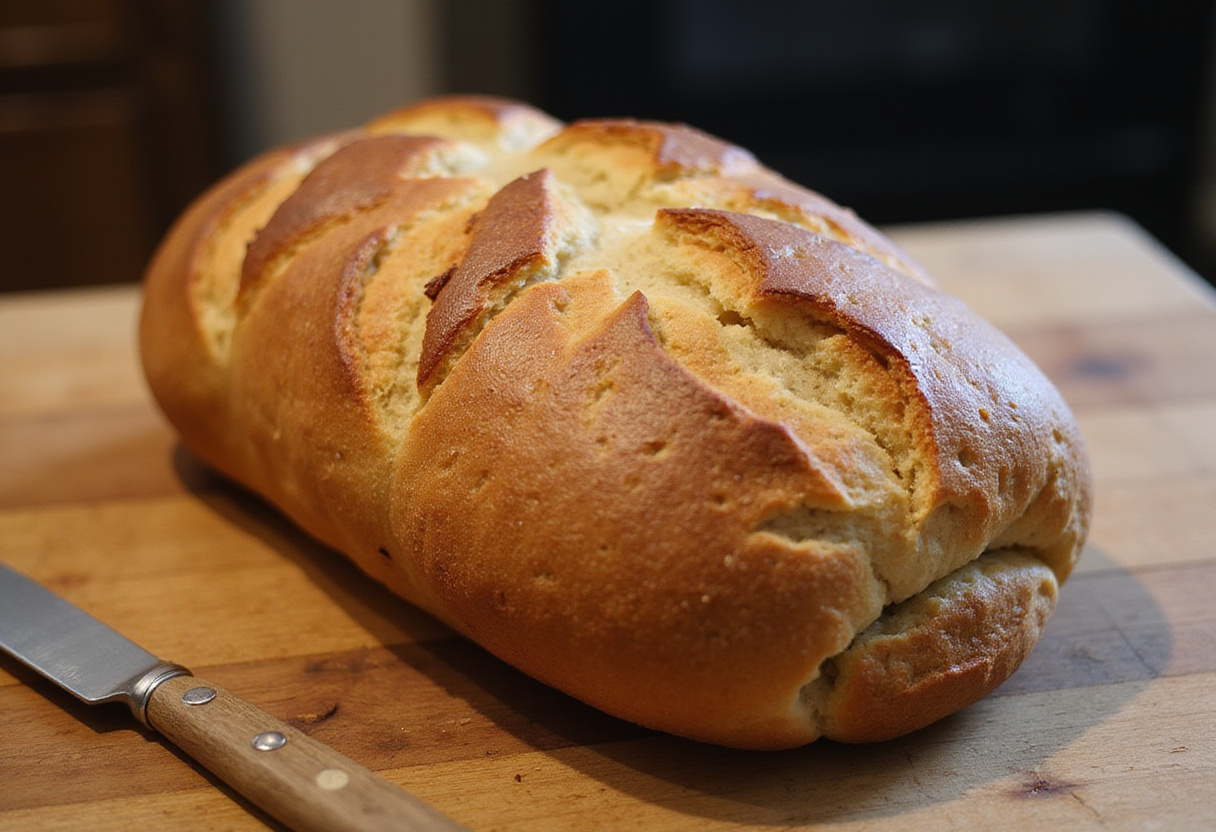
Before diving into the recipe, it’s essential to understand what sets a batard bread recipe apart. The term “batard” simply refers to the shape of the bread—an oblong, football-like form that is shorter and wider than a baguette but longer and narrower than a boule. This shape provides an ideal ratio of crust to crumb, making it versatile for various culinary uses. Imagine the possibilities! A well-made French batard boasts a crisp, golden-brown crust and an airy, chewy interior. The beauty of a batard loaf lies in its simplicity and the satisfying crunch it delivers with every bite. This homemade batard recipe will teach you the techniques to achieve that perfect balance. If you’re curious about shaping your batard perfectly, you might find this guide on shaping a batard helpful.
3. Essential Ingredients for Batard Bread
To bake a delightful batard bread recipe, you’ll need just a few high-quality ingredients:
- 3 1/2 cups (420g) bread flour
- 1 3/4 cups (420ml) warm water (105-115°F)
- 1 teaspoon (4g) active dry yeast
- 2 teaspoons (12g) salt
Bread flour is crucial for developing the gluten structure necessary for a chewy crumb. Warm water activates the yeast, while salt controls the yeast activity and enhances the flavor of the batard loaf. These ingredients, seemingly simple, play a complex role in the final bread structure and taste. Using these simple ingredients, you’ll be able to create a remarkable homemade batard that rivals those from professional bakeries. Remember, the quality of your ingredients directly impacts the final result of your French batard. Consider using filtered water for the best results!
4. Step-by-Step Batard Bread Recipe
Step 1: Preparing the Dough
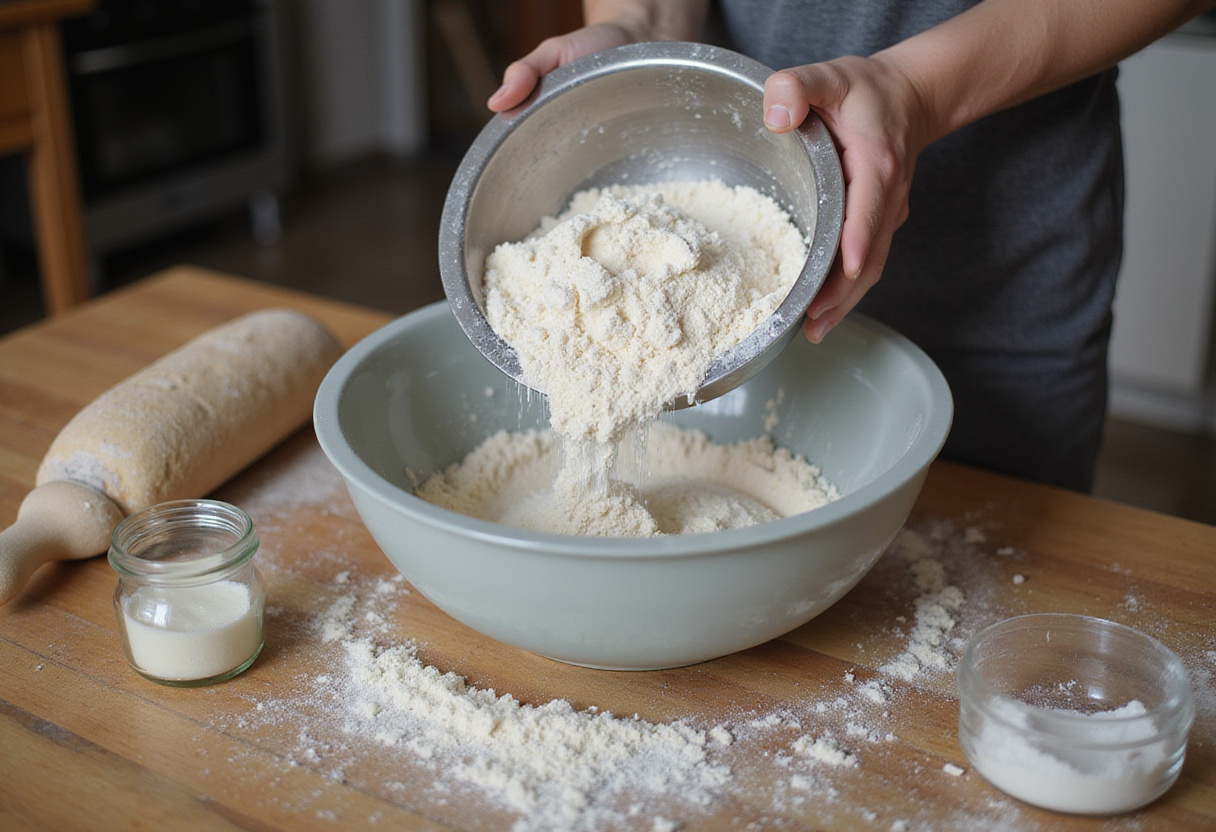
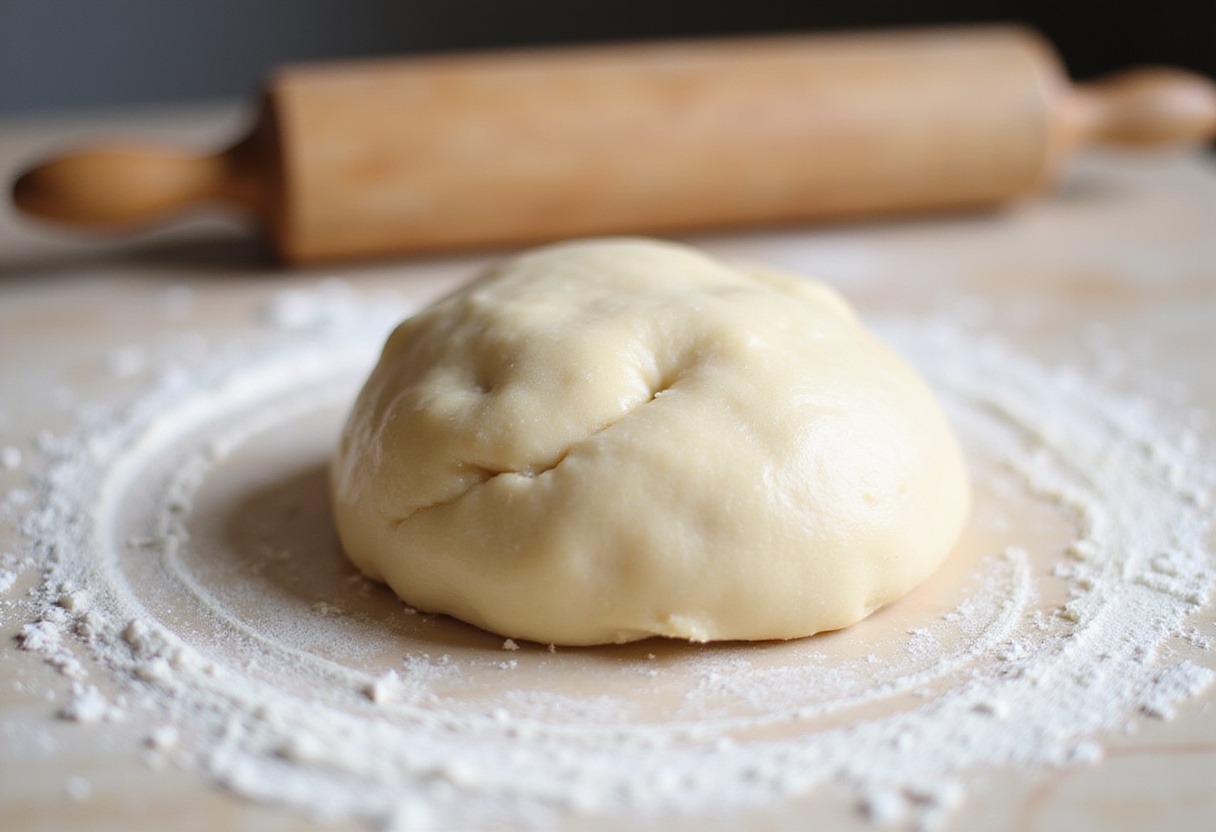
Begin by activating the yeast. In a large bowl, dissolve the yeast in warm water. Let it sit for 5-10 minutes until it becomes frothy. This indicates that the yeast is active and ready to use. Add the bread flour and salt to the yeast mixture. Mix until a shaggy dough forms. Turn the dough out onto a lightly floured surface and knead for 8-10 minutes until it becomes smooth and elastic. This step is vital for developing the gluten, which gives the batard bread recipe its characteristic chewiness. Remember, patience and perseverance are key when kneading your homemade batard dough. Don’t rush this process; it’s essential for the final outcome.
Step 2: First Proofing
Place the kneaded dough into a lightly oiled bowl, turning to coat. Cover the bowl with plastic wrap or a damp towel. Let the dough rise in a warm place for 1.5-2 hours, or until it has doubled in size. This first proofing allows the yeast to work its magic, creating air pockets and developing the flavor of the batard loaf. Proper proofing is crucial for achieving a light and airy texture in your French batard. Ensure the environment is warm and draft-free for optimal results with your homemade batard. A slightly warm oven (turned off!) can provide the perfect environment.
Step 3: Shaping and Second Proofing
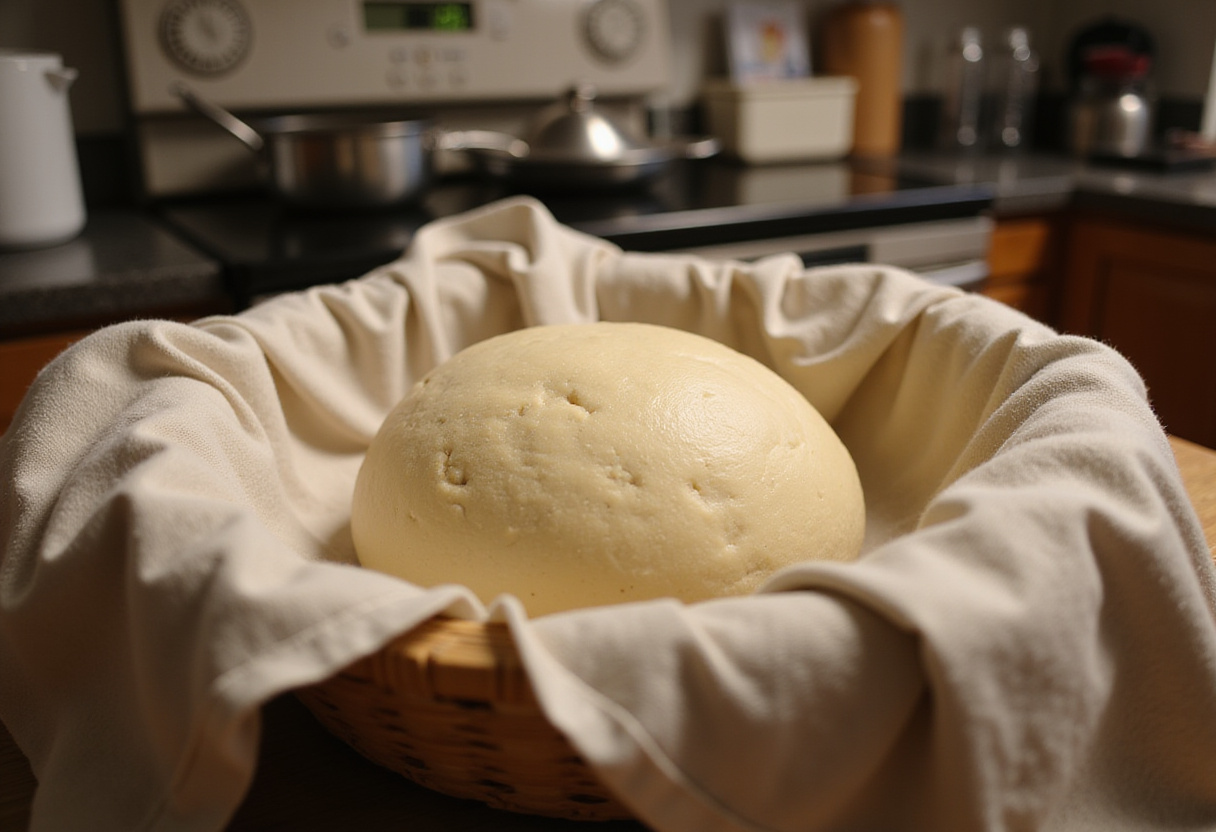
Gently punch down the risen dough to release the air. Turn it out onto a lightly floured surface. Shape the dough into an oblong, tapering the ends to form the classic batard bread recipe shape. This shaping process takes a little practice, but you’ll get the hang of it. Place the shaped dough into a well-floured banneton basket or a bowl lined with a floured kitchen towel. Cover it loosely and let it proof for another 1-1.5 hours. This second proofing allows the batard loaf to develop its final rise and delicate structure. A properly proofed homemade batard will exhibit a slight springiness when gently pressed. Be gentle during this phase to avoid deflating the dough.
Step 4: Baking Your Batard
Preheat your oven to 450°F (232°C) with a Dutch oven inside for at least 30 minutes. The high heat and the Dutch oven are key to creating a beautiful crust. Carefully remove the hot Dutch oven from the oven. Gently invert the proofed batard bread recipe dough into the Dutch oven. Score the top of the dough with a sharp knife or lame. This allows the French batard to expand properly in the oven and creates beautiful patterns. Get creative with your scoring! Cover the Dutch oven and bake for 20 minutes. Remove the lid and continue baking for another 20-25 minutes, or until the crust is deep golden brown and the internal temperature reaches 200-210°F (93-99°C). The baking process is crucial for achieving that perfect crust and airy interior in your homemade batard. Use a thermometer to ensure it’s fully baked!

5. Tips for the Perfect Batard Loaf
Achieving the perfect batard loaf involves attention to detail and a few key techniques. Remember, practice makes perfect! Proper hydration is crucial; ensure your water is at the correct temperature to activate the yeast effectively. Kneading the dough sufficiently is essential for developing gluten, which gives the bread its structure. Controlling the proofing environment ensures consistent results. Scoring the dough correctly allows for optimal expansion in the oven. Finally, baking in a Dutch oven creates a steamy environment that promotes a crisp crust and airy crumb in your French batard. Explore different Dutch oven sizes to find what works best for you. Following these tips will help you consistently bake outstanding homemade batard bread recipe.
6. Serving Suggestions for Batard Bread
The versatility of batard bread recipe makes it a wonderful addition to any meal. Think beyond the ordinary! Its robust crust and soft interior are perfect for sandwiches, providing a delightful textural contrast. Slices of batard loaf are also excellent for dipping in olive oil, soups, or stews. For a simple yet satisfying treat, toast slices of French batard and top them with butter, jam, or avocado. The possibilities are endless with this classic bread. It pairs well with so many flavors. Elevate your dining experience with the incredible flavor and texture of your homemade batard.
7. Troubleshooting Common Batard Bread Issues
Even with careful preparation, you might encounter some challenges when baking a batard bread recipe. But don’t worry, everyone faces challenges! A dense, gummy crumb can result from under-proofing or insufficient kneading. A pale crust may indicate that the oven temperature is too low or that the bread needed more time uncovered. If the dough spreads too much during baking, it might be over-proofed. By understanding these common issues and their causes, you can make adjustments to improve your technique and consistently bake a delicious batard loaf. Consider keeping a baking journal to track your results and adjustments. Don’t be discouraged; every baking experience is a learning opportunity for your homemade batard journey.
8. Variations on the Batard Bread Recipe
Once you’ve mastered the basic batard bread recipe, feel free to experiment with variations to suit your taste. This is where the fun begins! Add herbs like rosemary or thyme to the dough for an aromatic twist. Incorporate cheese, such as cheddar or Parmesan, for a savory delight. Swirl in pesto or tapenade for a flavorful filling. For a rustic touch, try using a portion of whole wheat flour in your French batard. The possibilities are endless, allowing you to create a unique and personalized homemade batard that reflects your culinary creativity. Consider adding sun-dried tomatoes or olives for a mediterranean twist!
9. Conclusion
Baking a batard bread recipe is a rewarding experience that combines simplicity with artistry. The aroma alone is worth the effort! The satisfaction of creating a perfectly shaped batard loaf with a crisp crust and airy crumb is unmatched. This versatile bread is a testament to the beauty of simple ingredients and time-honored techniques. By following this guide, you can confidently bake your own homemade batard that will impress your family and friends. Embrace the process, experiment with variations, and enjoy the delicious results of your baking endeavors. Happy baking!
Print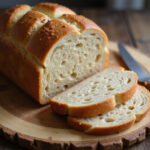
batard bread
- Total Time: 3 hours
- Yield: 1 loaf 1x
- Diet: Vegetarian
Description
Craft the perfect homemade batard bread with this easy-to-follow recipe. Enjoy a delightful crisp crust and airy crumb, ideal for sandwiches, soups, or a simple snack. Elevate your baking skills with this classic French batard loaf!
Ingredients
- 3 1/2 cups (420g) bread flour
- 1 3/4 cups (420ml) warm water (105-115°F)
- 1 teaspoon (4g) active dry yeast
- 2 teaspoons (12g) salt
Instructions
- Activate the yeast: In a large bowl, dissolve the yeast in warm water. Let it sit for 5-10 minutes until frothy.
- Mix the dough: Add the bread flour and salt to the yeast mixture. Mix until a shaggy dough forms.
- Knead the dough: Turn the dough out onto a lightly floured surface and knead for 8-10 minutes until smooth and elastic.
- First Proofing: Place the dough in a lightly oiled bowl, turning to coat. Cover and let rise in a warm place for 1.5-2 hours, or until doubled.
- Shape the dough: Gently punch down the dough and turn it out onto a lightly floured surface. Shape into an oblong, tapering the ends.
- Second Proofing: Place the shaped dough in a well-floured banneton basket or bowl lined with a floured kitchen towel. Cover and let proof for 1-1.5 hours.
- Preheat oven: Preheat your oven to 450°F (232°C) with a Dutch oven inside for at least 30 minutes.
- Bake: Carefully remove the hot Dutch oven. Invert the dough into the Dutch oven. Score the top. Cover and bake for 20 minutes.
- Finish Baking: Remove the lid and continue baking for 20-25 minutes, or until the crust is deep golden brown and the internal temperature reaches 200-210°F (93-99°C).
Notes
- Use high-quality bread flour for the best gluten development.
- Ensure the water is at the correct temperature to activate the yeast effectively.
- Knead the dough sufficiently for a chewy texture.
- Proof in a warm, draft-free environment for optimal results.
- Scoring the dough allows for proper expansion in the oven.
- Baking in a Dutch oven creates a steamy environment for a crisp crust.
- Prep Time: 20 minutes
- Cook Time: 45 minutes
- Category: Bread
- Method: Baking
- Cuisine: French
Nutrition
- Serving Size: 1 slice (1/12 of loaf)
- Calories: 210 Kcal
- Sugar: 1g
- Sodium: 250mg
- Fat: 1g
- Saturated Fat: 0.2g
- Unsaturated Fat: 0.8g
- Trans Fat: 0g
- Carbohydrates: 45g
- Fiber: 2g
- Protein: 7g
- Cholesterol: 0mg
Keywords: batard bread, batard loaf, French batard, homemade batard, bread recipe, baking, sourdough bread


No comment